6 Tips for Taking Better Product Photos
It’s important to note that the quality of the photography you use to represent your brand needs to be high: many consumers will associate a high standard of visual presentation with a high-quality product. What’s more, research shows that good product photography is 40% more likely to be shared from your social media accounts. With that in mind, here are six top tips for taking better product photos.
A picture is worth a thousand words, so having the right imagery will be essential to selling your products and promoting your brand. No one knows your product better than you, so who better to take control of your product photography? Not only is this a clever cost-saving measure, but it can also be much easier than you might think.
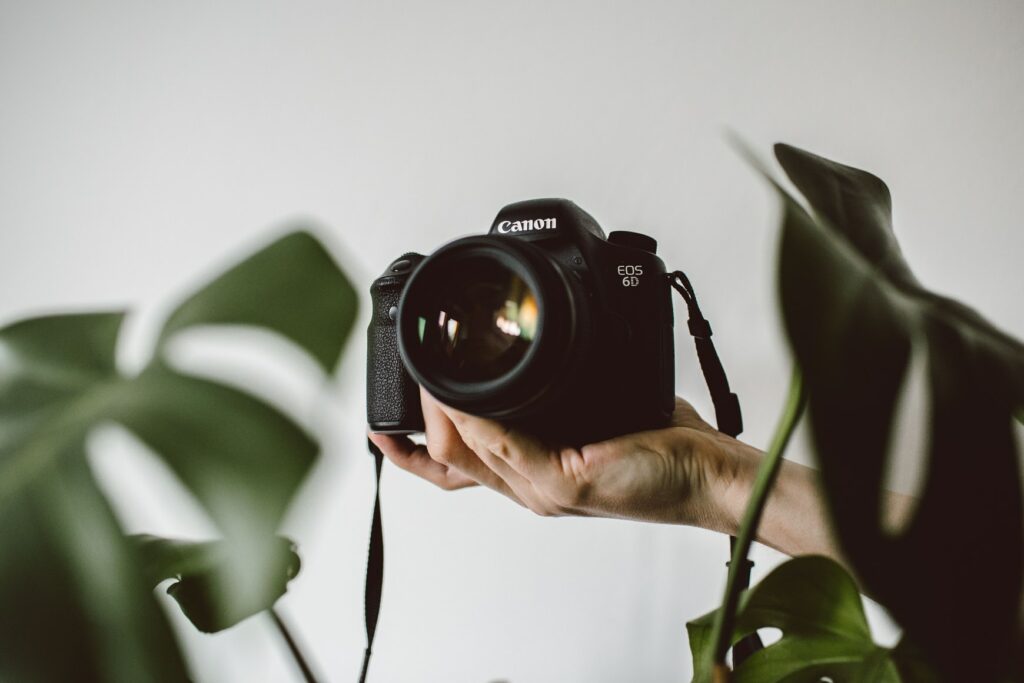
1. Use A Telephoto Lens
Your photos reflect a true and accurate image of your products: you don’t want them to be distorted in any way. That means that for taking better product photos, you should avoid using a wide-angled lens or a special effects lens, as these will both have an impact on the proportions of your product. Instead, you should always opt for a telephoto lens for product photography, so that what you are showing your customers is as true as possible to what you are actually selling.
The good news is, you don’t need to spend money on investing in a new camera or a new camera lens. The iPhone sitting in your pocket has a built-in telephoto lens, and the zoom feature on the iPhone also utilizes a telephoto lens (rather than a digital zoom) meaning that you can accurately shoot those closer details. This is true of every iPhone model beyond the iPhone 7 plus, and the same spec is also offered on a wide spectrum of Android phones. If you need a particularly tight zoom, or your products are especially small, you may wish to consider investing in a clip-on telephoto lens for your device to get as close as possible.
2. Let There Be Light
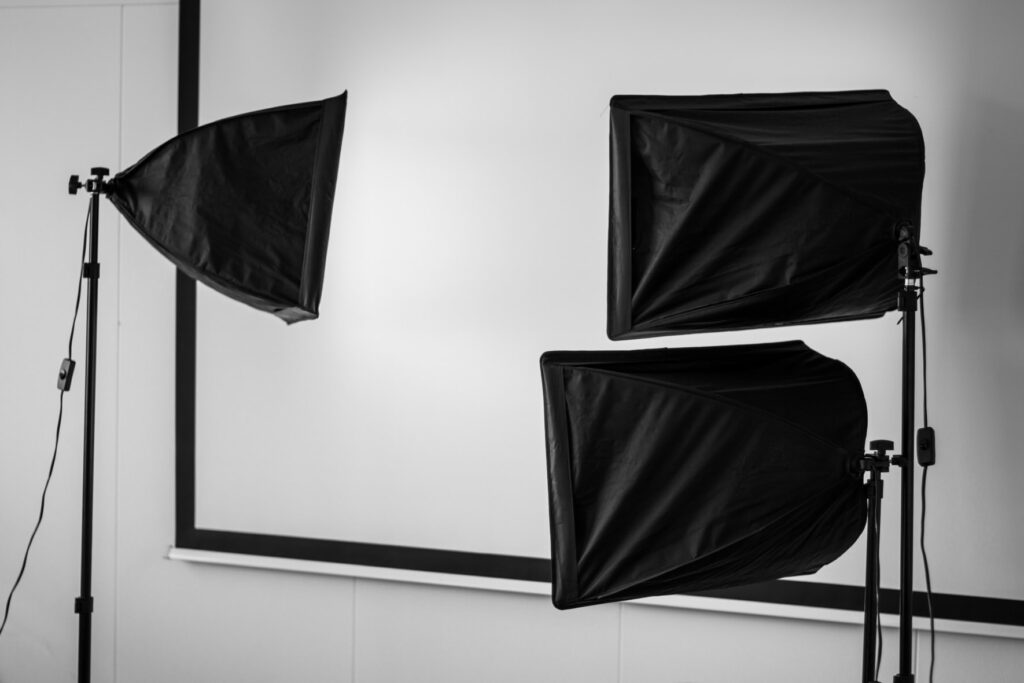
Have you ever thought about how you are lighting your products? It could be the difference between a good photograph and a great one! In great product photography, the product is separated from the background and is evenly lit. The flatter the lighting, the easier the image will be to retouch and edit. You can achieve this by investing in an affordable lightbox, only shooting your images at times of the day when you can take advantage of the natural light or, if you’re a small business on a tight budget, you could even invest in some oversized sheets of white cardboard, and use these as makeshift light diffusers.
Diffusing your studio lighting ensures evenly spread lighting across your product, instead of casting overexposed hot spots in an image. It will remove shadows and other elements that can be tricky to edit out, leaving you with a much cleaner final image. Additionally, employing an image enhancer tool can further refine the quality of your product photos, ensuring they stand out and captivate your audience.
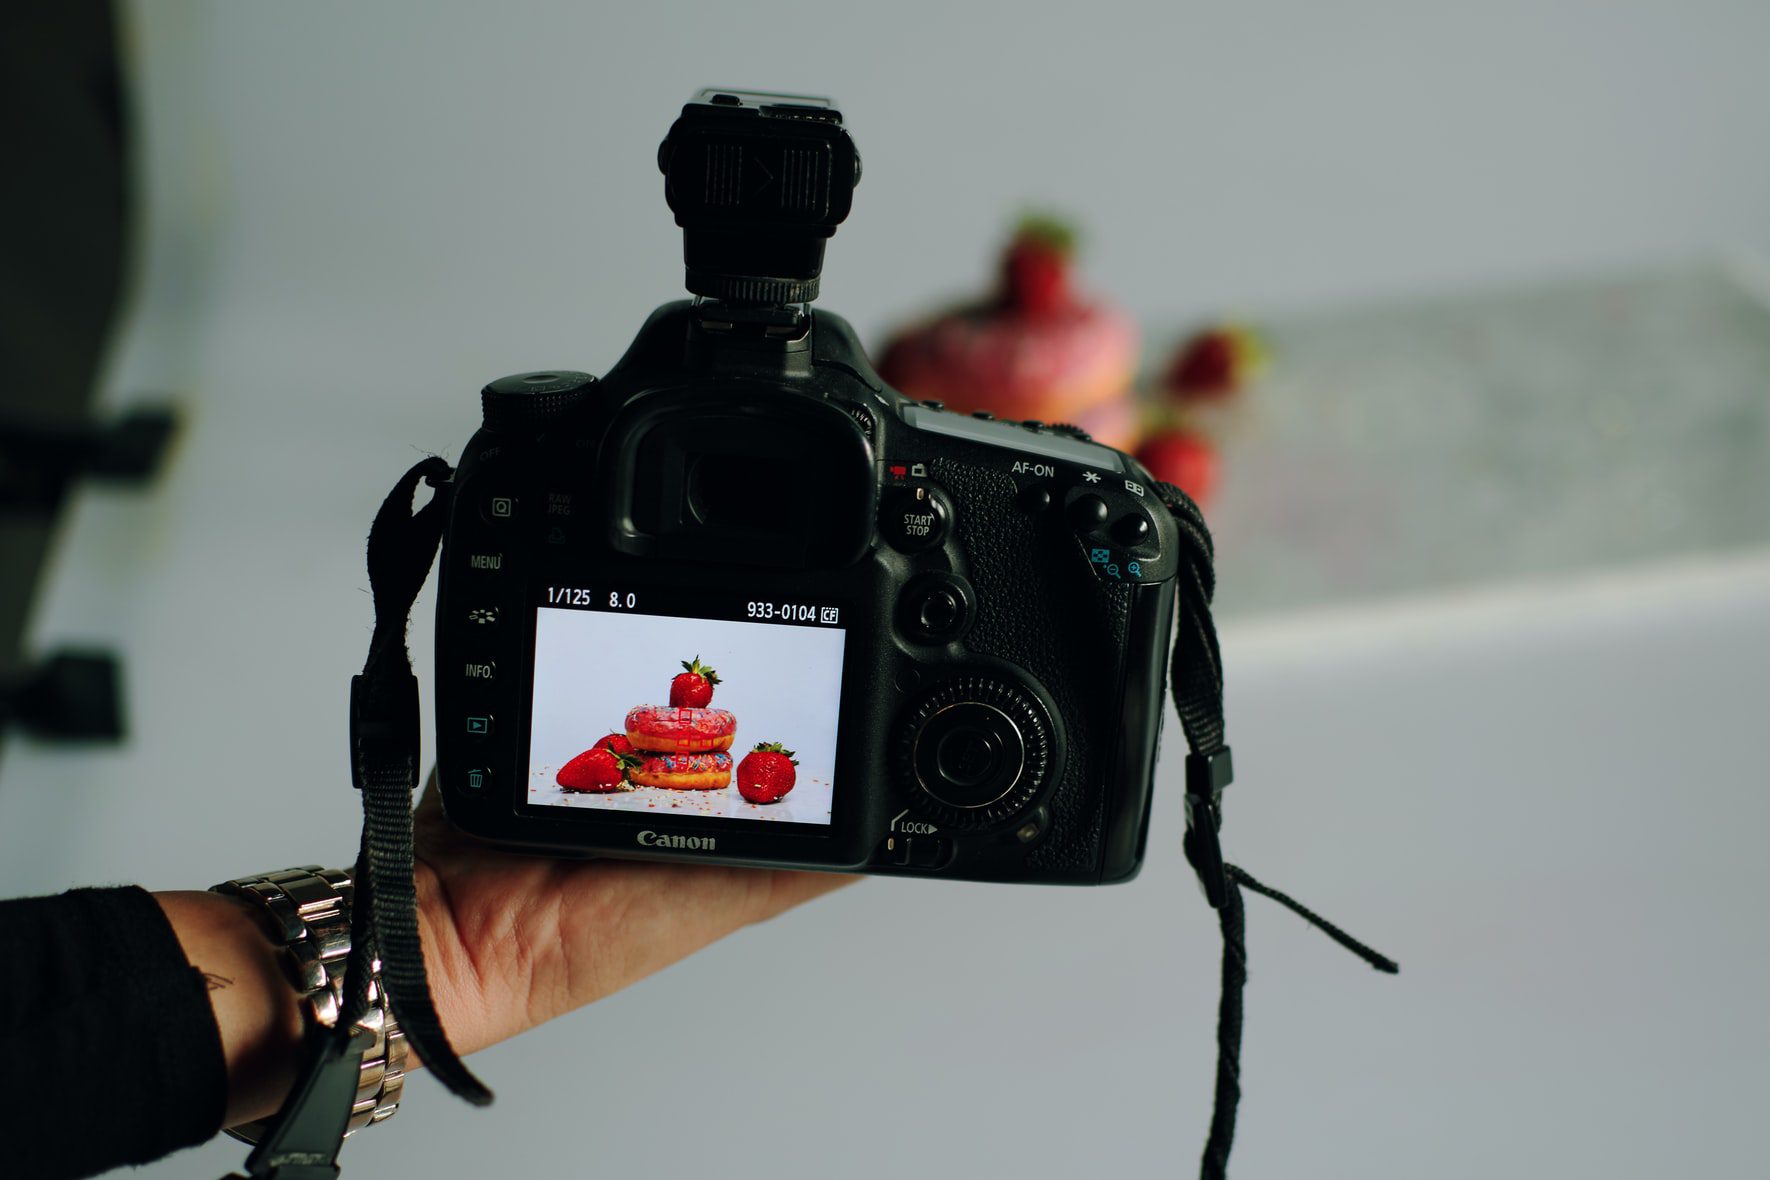
3. Pay Attention to Your Product
It should go without saying, but the quality of your product photos will be instantly improved if you pay close attention to the product, you are actually shooting. Ensure that it is the best possible version of what you offer: that it is clean, neat, and pressed. If you are shooting something with a label on it (for example, a bottle of shampoo) then ensure that the label is lined up centrally in your shot.
Thinking about the smallest details around positioning and the way your product actually looks on camera will instantly improve the quality of your product photos. You want to put your best foot forward, and showcase the best possible version of the brand to your clients and customers, so thinking about the aspect of the products that you photograph will play a huge role in that.
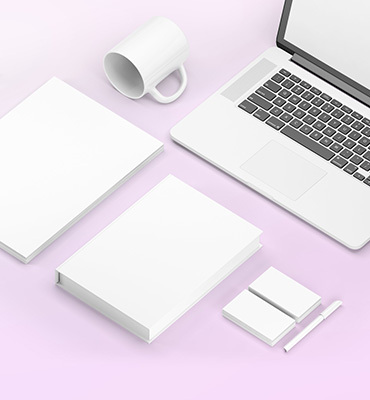
4. Invest in a white backdrop

This is one of the best tips for product photos. Depending on the size of the products you are planning to shoot, investing in a white backdrop will help to make these images look cleaner and much more professional. For large products, you can find a white paper sweep online for a very small cost. Paper sweeps are easier to maintain than fabric ones, as you can simply cut away any areas that become dirty or damaged.
If you only need to photograph smaller products then a large piece of pure white cardboard or poster board would be just as effective, and at a significantly lower cost. If you plan on adding background imagery or text to your photographs using the Mediamodifier design tool then you will find this much easier to do if you have photographed your products against a pure white backdrop, so this is a handy tip that will definitely improve the quality of your product photos.
5. Be Inspired
Don’t be afraid to take inspiration from other product photographers! If an image grabs your eye whilst you’re scrolling through social media, think about why you find that photo so appealing, and then apply this to your own work. Nothing is created in a vacuum: everyone finds their inspiration from somewhere. Just remember that there is a big difference between taking inspiration and copying someone else’s work: your product photography should still be true to your brand identity, so ensure that you also maintain elements of what makes your brand so unique.
6. Use a Mockup Generator
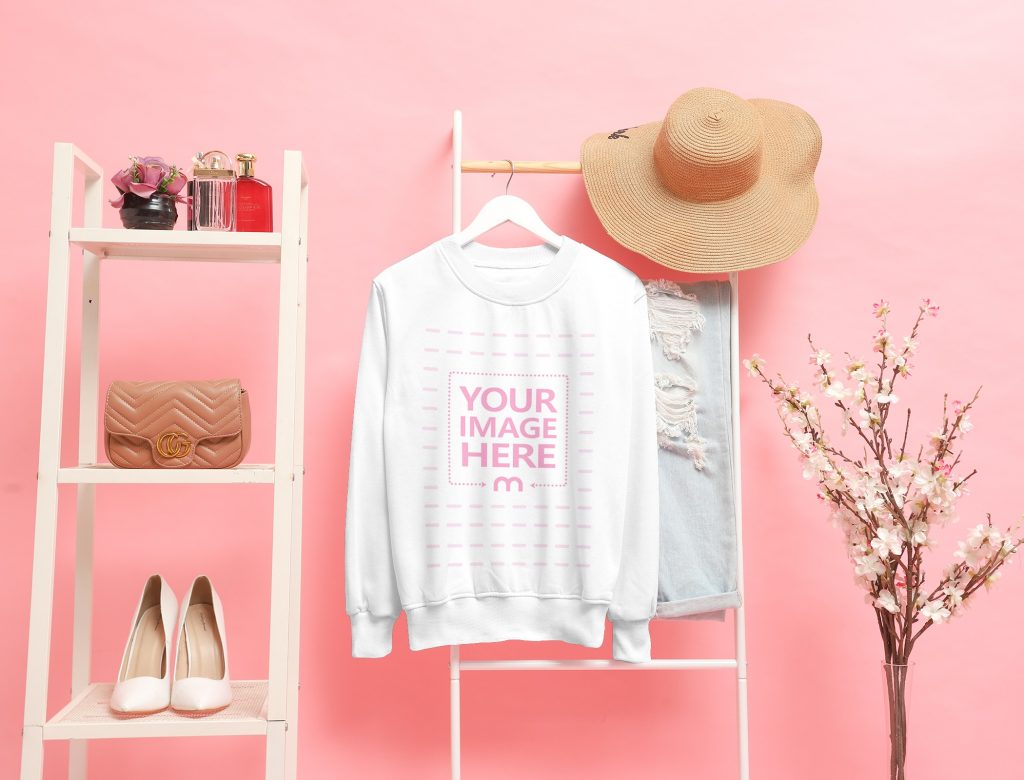
Okay, we admit we might be a bit biased with this one, but using a mockup generating software will help you place your product to beautiful, professional photos with only a few clicks. While it might not work for every product out there, we offer templates for a wide variety of industries – we think it’s worth giving a try. Especially if you don’t already own the proper equipment, skills, or simply don’t have the time, this could be the perfect solution for your business.
Do you have any other tips for taking better product photos?
You can checkout the Mediamodifier mockup library here.
Related articles
Visualize your design Use a product mockup to showcase your design
Create your design Use our templates to create delightful designs for any medium