How to Add Text to a Mediamodifier Mockup or Design Template

Mediamodifier mockups and design templates are great for customizing different templates and objects with your logo or image – from device screens and business cards to mugs and apparel, the easy-to-use interface provides all the help you need to easily create your desired image.
However, sometimes you might want to go further and keep editing the template in order to add more than the preset edits allow you. If that is the case, don’t worry – you can quickly do so from the website, without having to re-upload or go to a different service.
In this guide, we explain to you how to add text to a Mediamodifier Mockup.
1. Open Mockup in Design Editor
(skip this step if you’re editing a design template)
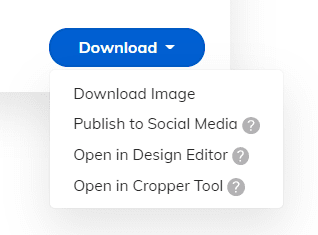
After designing your mockup, instead of saving it, you can directly open it in Mediamodifier’s Design Editor for further edits. You can see this option in the same window as the “Download Image”:
Once you press it, wait for your template to load in a new window. The old window won’t be replaced, meaning that you can continue to edit the mockup as needed or download it as a file. In case you make more edits to it, make sure to each time reopen it in the Design Editor, as the two won’t sync up automatically.
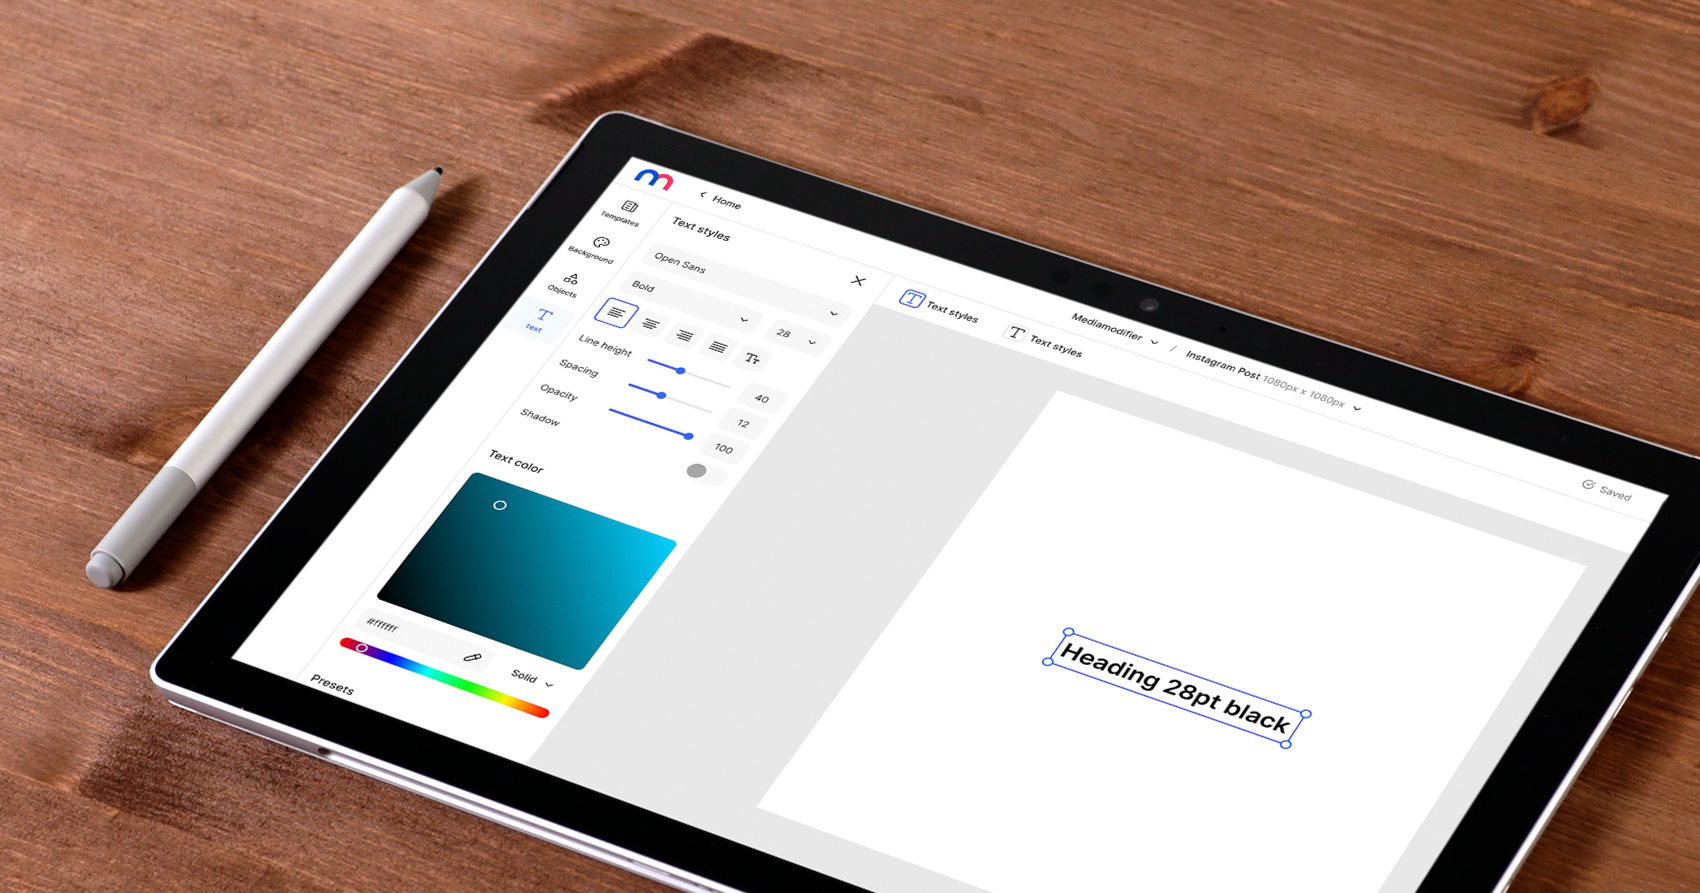
2. Add New Text Into the Design
You can add new text from the sidebar “Text” button menu. From there, select a Title, subheading, or body text by clicking on it. This action adds a new blank text block into the design.
Double-click on the new text to edit it or to copy-paste your text inside.

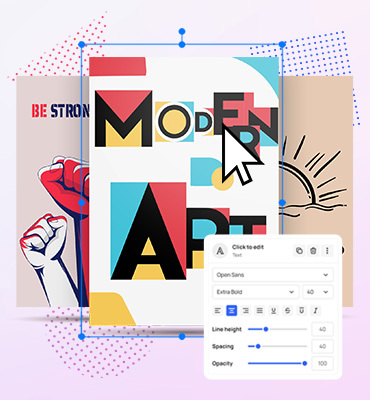
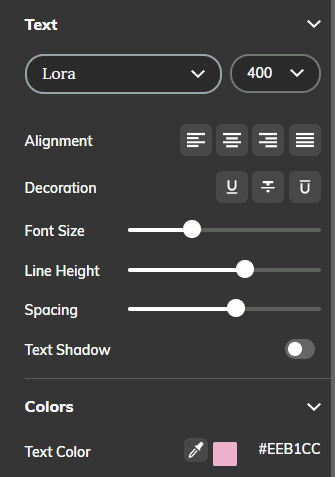
3. Format the Text
Using the settings from the right side of the screen, you can change the features of your text, such as the color, the font, the thickness (using bold), the opacity of the text, and the text alignment.
There are also options to underline, overline, and strikethrough the text.
In addition to the settings, you can directly modify the text on the design. By clicking on the text box, you can resize it by dragging the layer from the corner (hold down the ‘Alt’ button to resize from the middle).
Note: Make sure you have selected the text when you wish to edit it, otherwise the settings won’t apply. To do this, you need to first click on the text box, then do one of these three things:
- Double-click on it
- Press the ‘Control’ and ‘A’ keys (‘Command’ and ‘A’ on Mac)
- Hover over the entire text while clicking)
You can also change the placement of the text on your image by dragging it with your mouse pointer.
4. Save Design (optional)
This feature is only available in paid plans. If you’re using a free account, skip to step 5.
If you want to continue working on your design later, click “Save design” in the top right menu. You’ll find all saved designs in your “My designs” tab. Come back later, anytime!
5. Download or Publish the Image
When you are finished, you can download the file using the same button you used to open the file in the editor.
Once you press on “Download Image”, the image will automatically be saved in your default downloads folder in the format of your choice (PNG or JPG).
Alternatively, you can publish it directly to social media.
Video Tutorial (if you want to add text to a Mediamodifier Mockup)
This video shows you all the steps to successfully add text to your mockup.
Related articles
Visualize your design Use a product mockup to showcase your design

Create your design Use our templates to create delightful designs for any medium