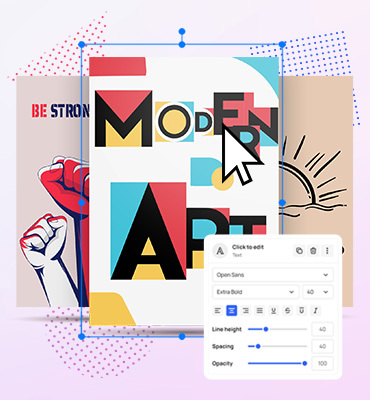
Editing Text in Mediamodifier
A picture can say a 1000 words… however sometimes it’s just better to say what you need with written text!
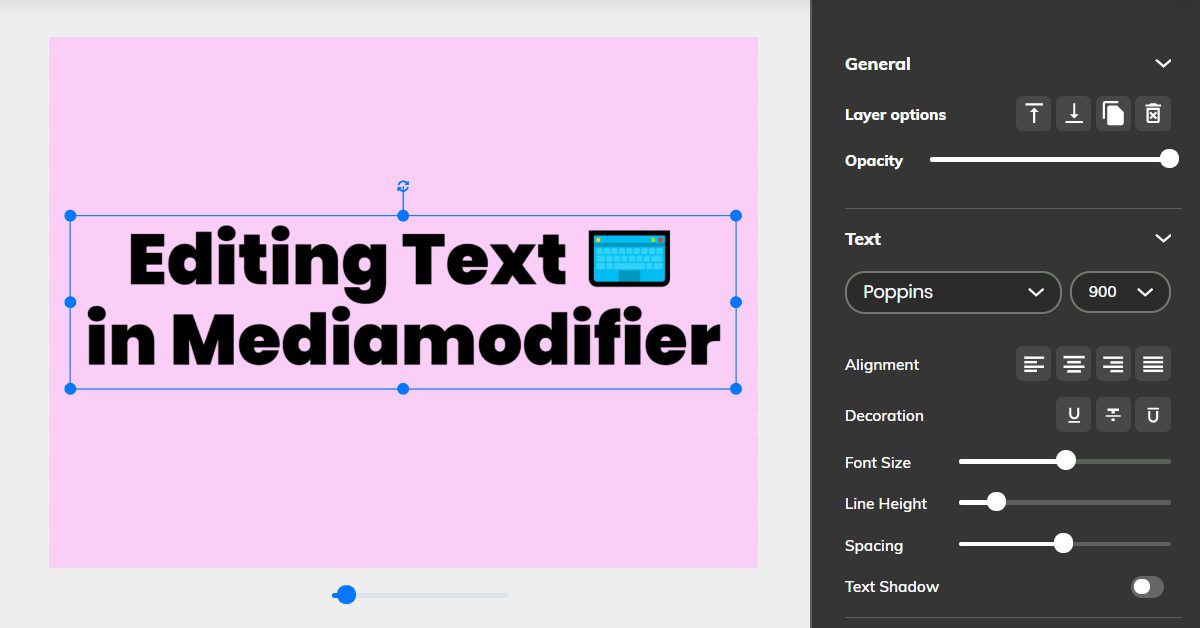
Here’s a quick overview of all the available text editing options in the Mediamodifier Free Design Maker which will help you add a beautiful typographical element to your design:
Let’s jump into each of these text features:
Add New Text into a Design
You can add new text from the sidebar “Text” button menu. From there, select a Title, subheading or body text and clicking on the selection adds a new blank text block into the design.
Double-click on the new text to edit it or copy paste your text inside.
Change the Font and Thickness (Bold)
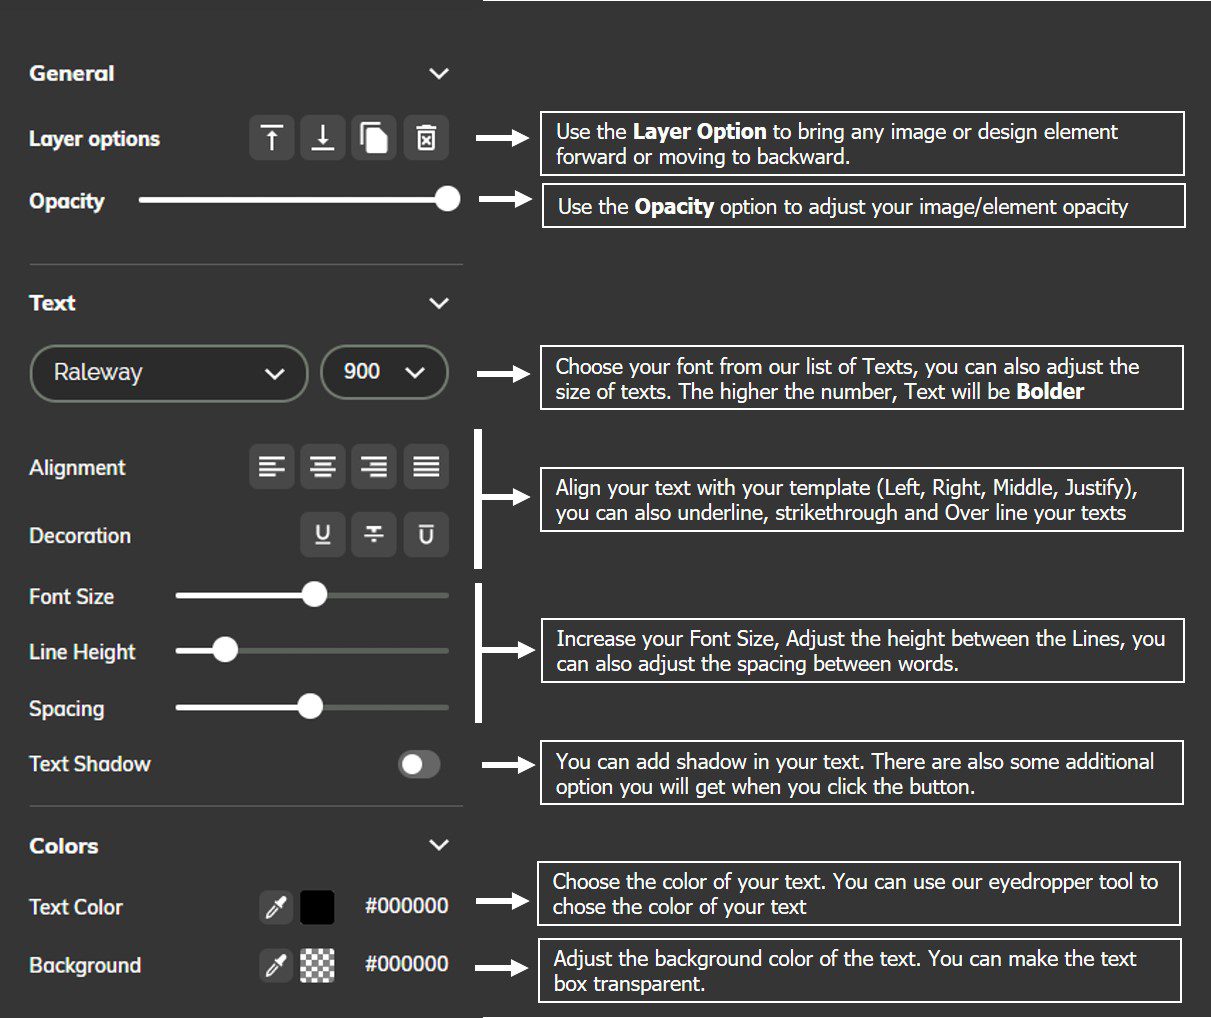
From the font selection menu you can also adjust the thickness of texts in multi level – the higher the number the bolder the text is.

Send Backward or Forward and Change Opacity:
You can move the texts backward or forward in relation with other layers e.g. put objects behind or in front of other objects.
You can also control the opacity of the text with a slider. (Alternatively the text opacity can also be controlled from the text color picker window)
Adjust the Text Alignment
Use the alignment tools to align text to Left, Right, Middle or Justify. There are also options to Underline, Over-line and Strike through text.
Adjust the Font Size, Line Height, and Spacing:
There are 2 ways to change the size of font and text:
- Select a text block and resize by dragging the layer from the corner (hold down Alt to resize from middle)
- or use the Font size slider in the sidebar.

Add Shadow to Text:
Make sure a single text layer is selected and enable the “Text Shadow” from the sidebar.
This will activate additional options for customizing text shadow.
With the “Text Shadow Offset” you can adjust the size of the shadow along with the direction of the shadow.
With the “Blur” shadow option you can blur the shadow.
Tip: You can also adjust the opacity of the shadow inside the “Shadow Color” window to make it lighter or darker.
Color of Texts and Background:
For the colors you have the option to change the text color, and also add a background color for the entire text block area.
Conclusion
With these advanced text editing features, you can easily create a custom look for the typographic part of your graphic design.
Missing something? Please sure to let us know about new feature requests in our feedback forum.
Text Editing Tips:
- You can also change font size and text color separately for each word inside a single text block (e.g. make one word bold in a sentence).
- To quickly duplicate a text block, select it and press CTRL + C and CTRL + V.
- Use the eyedropper tool to select a color for your text block or text background directly from the scene, and forget about typing in color codes.
- The text field also supports Emojis. Copy and paste an emoji from a site like https://emojipedia.org straight into the text field.
Visualize your design Use a product mockup to showcase your design
Create your design Use our templates to create delightful designs for any medium