How to Add a Screenshot to a Computer Screen Stock Photo
Adding visuals to your presentations, blog posts, or promotional materials significantly boosts engagement—and screenshots are one of the most effective ways to highlight key content. If you’ve ever wondered how to add a screenshot to a computer screen mockup for a polished, professional look, you’re in the right place.
In this tutorial, you’ll discover a fast and intuitive method to integrate your screenshot into a computer screen stock photo. It is very easy to add a screenshot to a computer stock photo using the Mediamodifier mockup tool.
Here are the steps to follow:
1. Have the screenshot ready, in JPG or PNG format
Learn how to take a screenshot here.
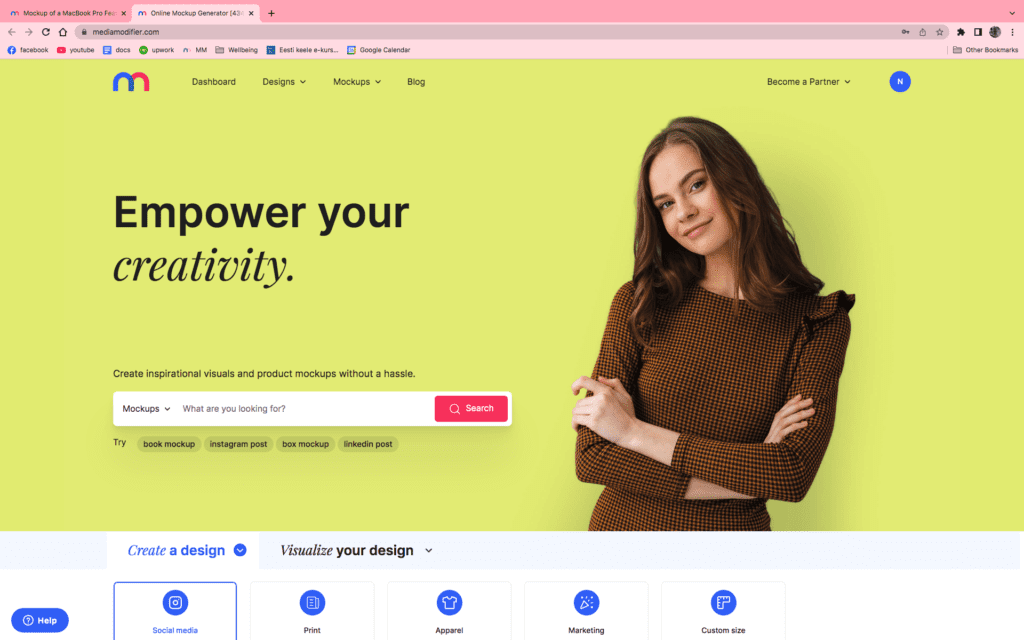
2. Go to our technology mockups page and choose one that fits your needs best
You can filter the mockups by popularity or date, or choose different categories from the menu on the left side.
3. Click on “Add image/design”, then on “Upload your image”
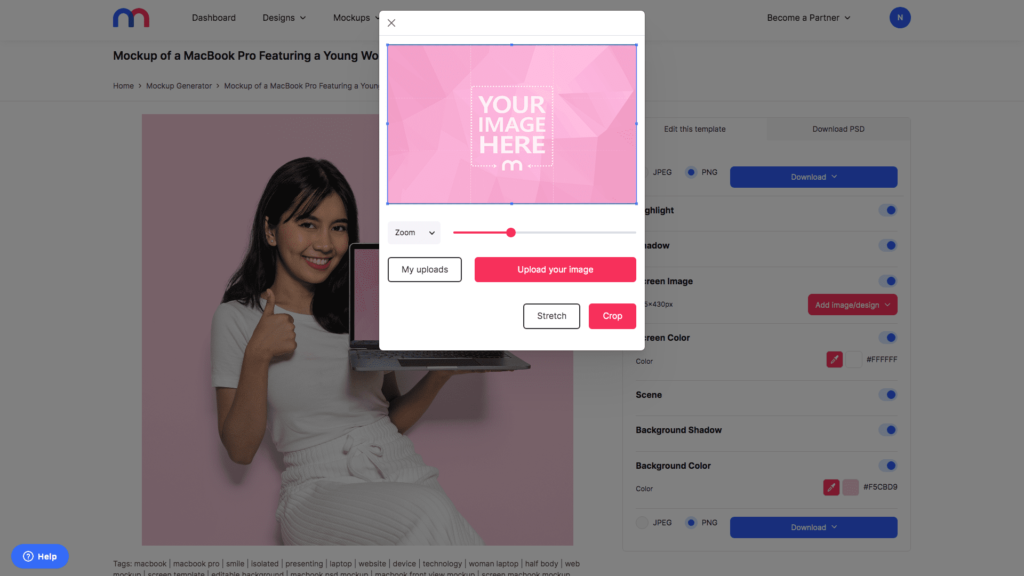
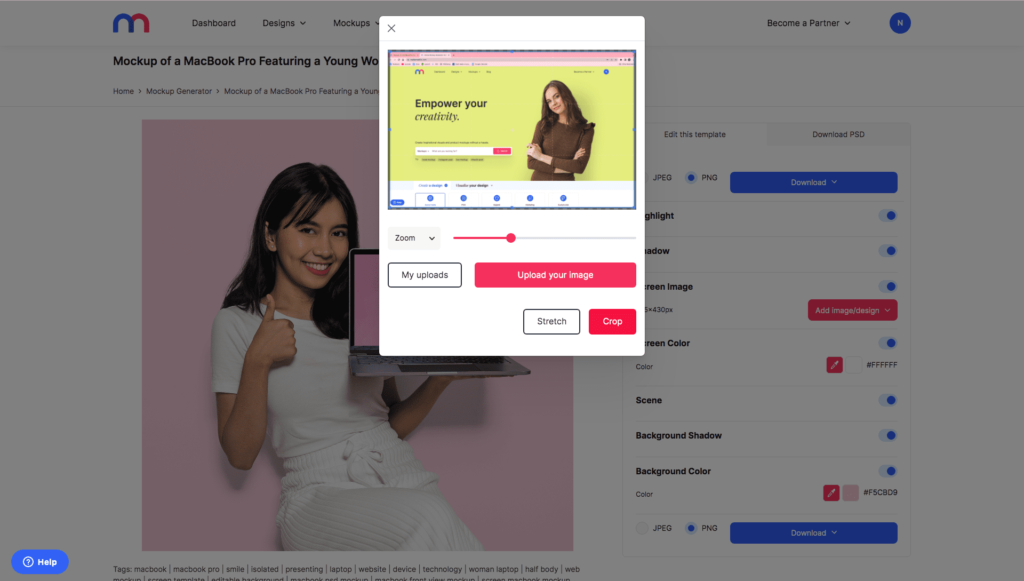
4. Upload your file, move it around or crop it (if needed), then press on “Crop”
PS. If you do not need to move the image at all, then simply press on “Crop” without dragging the image beforehand. Another option is “Strech” – however, with screenshots, this option might look unnatural.
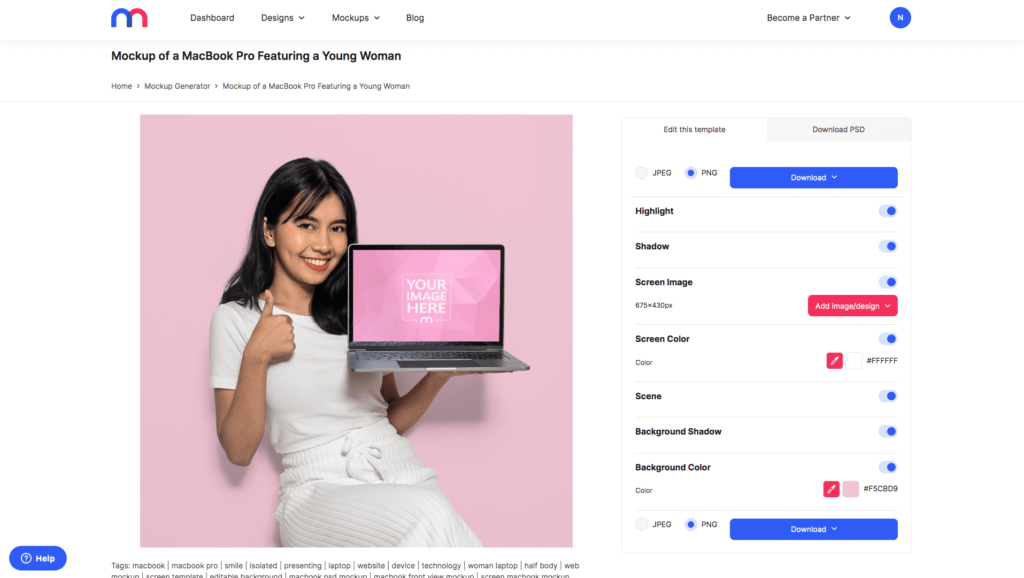
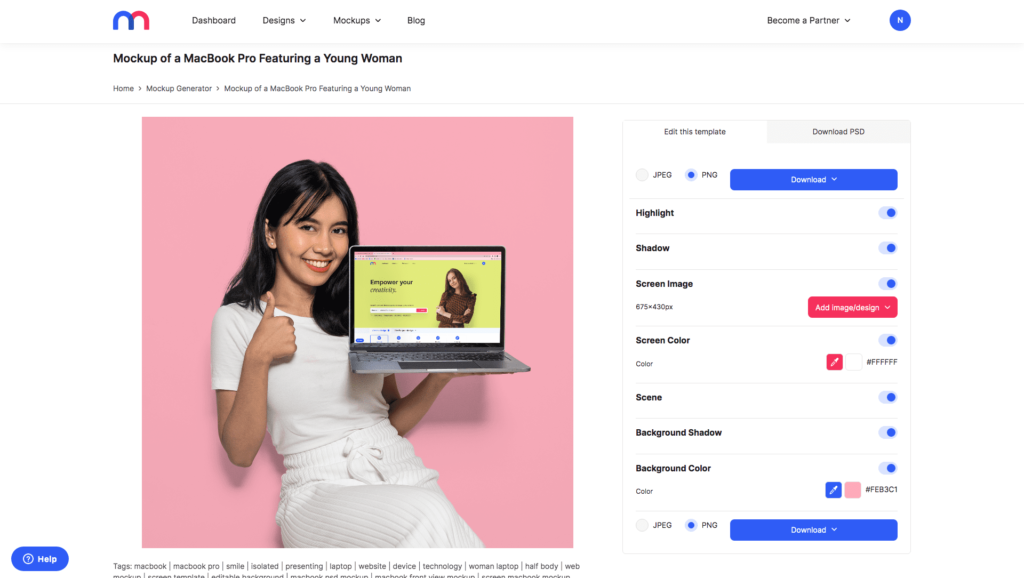
5. Use the settings on the right, you can change the background color
You can also remove the background color altogether, edit the shadows, and more.
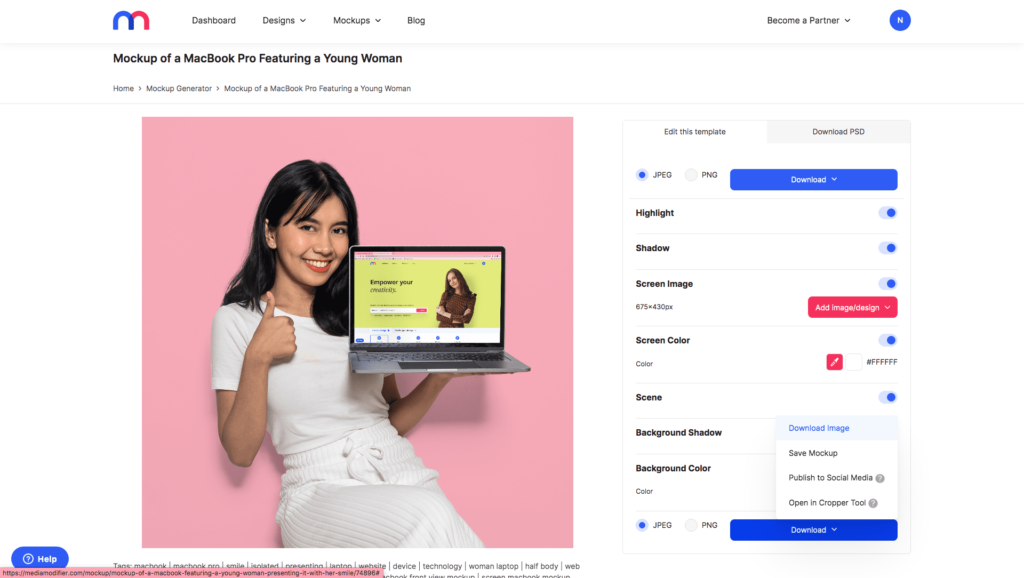
6. Choose the preferred format, then download your final image
You can also directly publish it on social media.
7. And that’s it!

Now you know how to add your own screenshot to a computer stock photo. You can use this template, or browse through our thousands of options:
A few tips for a Professional-Looking Mockup
When creating a mockup, small tweaks can dramatically enhance its quality and realism. Here are some actionable tips to elevate the look of your screenshot on a computer screen:
- Crop, don’t stretch: Prefer using the “Crop” option after uploading your screenshot—this preserves the aspect ratio and ensures a natural appearance. Using “Stretch” might distort your image and look unrealistic.
- Fine-tune colors, shadows, and background: On the right-side panel of MediaModifier’s interface, you can customize the background color, adjust shadows, or even remove the background entirely. These tweaks help make your mockup visually striking and tailored to your branding.
- Align with your purpose:
- For web usage or presentations, opt for a proper background and sharp colors to maintain clarity.
- For social media, consider vibrant or contrasting colors that evoke attention and shareability.
Matching visual tone to platform enhances engagement.
Best Practices for using Screenshot Mockups
Mockups are more than just aesthetics—they convey professionalism, context, and storytelling. Here’s how and when to use them effectively:
- Choose mockups over plain screenshots: A computer screen mockup instantly elevates your screenshot, offering a ready-made, realistic scene that stands out compared to raw screen captures.
- Versatile use cases:
- Presentations: Incorporate mockups to demonstrate app or website functionality in a sleek, believable context.
- Marketing and landing pages: Highlight product features or user experience via an embedded device mockup that offers immediate visual clarity.
- Social media and tutorials: Break down complex workflows—like software tours or dashboards—within a stylized screen frame for readability and aesthetic appeal.
- Our platform’s advantage: MediaModifier offers thousands of curated technology mockups—from desktops and laptops to tablets and phones. This variety ensures you can match the right device context for your content.
Save and share your final design
Once you’re satisfied with how your screenshot fits into the mockup, here are your options to wrap it up nicely:
- Choose the preferred format: MediaModifier supports multiple export formats—typically PNG or JPG are standard, but specific templates may offer additional options.
- Publish directly to social media: Save time by using MediaModifier’s “Publish” feature, which lets you post your final mockup to social platforms without downloading first. It’s especially useful for sharing visuals in real time or across marketing campaigns.
Conclusion
In just a few simple clicks, you’ve transformed a raw screenshot into a polished, professional mockup—ready to impress your audience everywhere. Whether for presentations, marketing campaigns, or social media visuals, MediaModifier’s mockup tool makes the process quick and customizable.
Ready to bring your ideas to life? Head over to MediaModifier now and explore our wide range of mockup templates designed to elevate your visuals.
Frequently Asked Questions
How do I add a screenshot to a computer screen mockup?
Upload your screenshot (JPG or PNG), crop or position it, tweak the display settings, and then export the final mockup.
What file format should my screenshot be?
Use JPG or PNG formats for optimal quality and compatibility.
Is cropping better than stretching my screenshot?
Yes, cropping helps maintain the original proportions and realism; stretching can distort the image.
Can I download the mockup in different formats?
Absolutely. You can export your final image in various file formats suitable for web, print, or social media.
Related articles
Visualize your design Use a product mockup to showcase your design
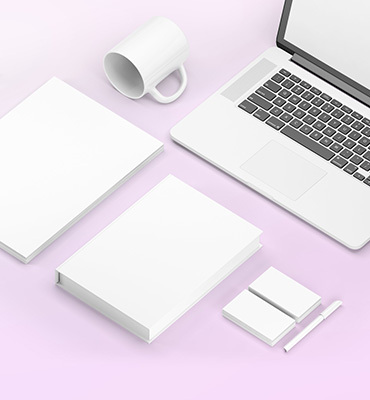
Create your design Use our templates to create delightful designs for any medium