PSD Formatting Guide for Uploading Photoshop Mockups to Mediamodifier
All the Mediamodifier online mockups are based on Photoshop PSD files, which are automatically converted into web compatible MMD format. For this process to work smoothly, it’s necessary to know some of the limitations and organize your PSD file layout.
This way you can easily make online versions of your own Photoshop mockups – edit and save them easily online or use through our most advanced mockup API.
Before You Begin:
Before starting to edit your PSD mockup, please consider your file size and resolution… and also make backups!
The online version of the mockups is meant to be fast.
So it’s better to continue using the PSD version if you need 5000px resolution.
Although Mediamodifier can handle large file sizes too, it’s better to stay lean and fast.
If you wish to create an online version of your mockups, we recommend staying around 2000px size. The smaller your PSD resolution is, the faster your mockup will load online (this is most important if you’re going to use your own mockup through the API).
and resizing your to-be online mockup PSD file later may end up causing issues, so it’s better to start creating your mockup in the right size from the beginning.
So let’s get started…
Layer Types and Names
Creating mockups requires specific layer names for each layer type. This way our PSD file analyzer will understand all the layers and what they are for (A big “Thank You” Adobe for making the parsing of PSD files so difficult 😊)
For example a t-shirt mockup would look like this:

or a candy bar mockup like this:
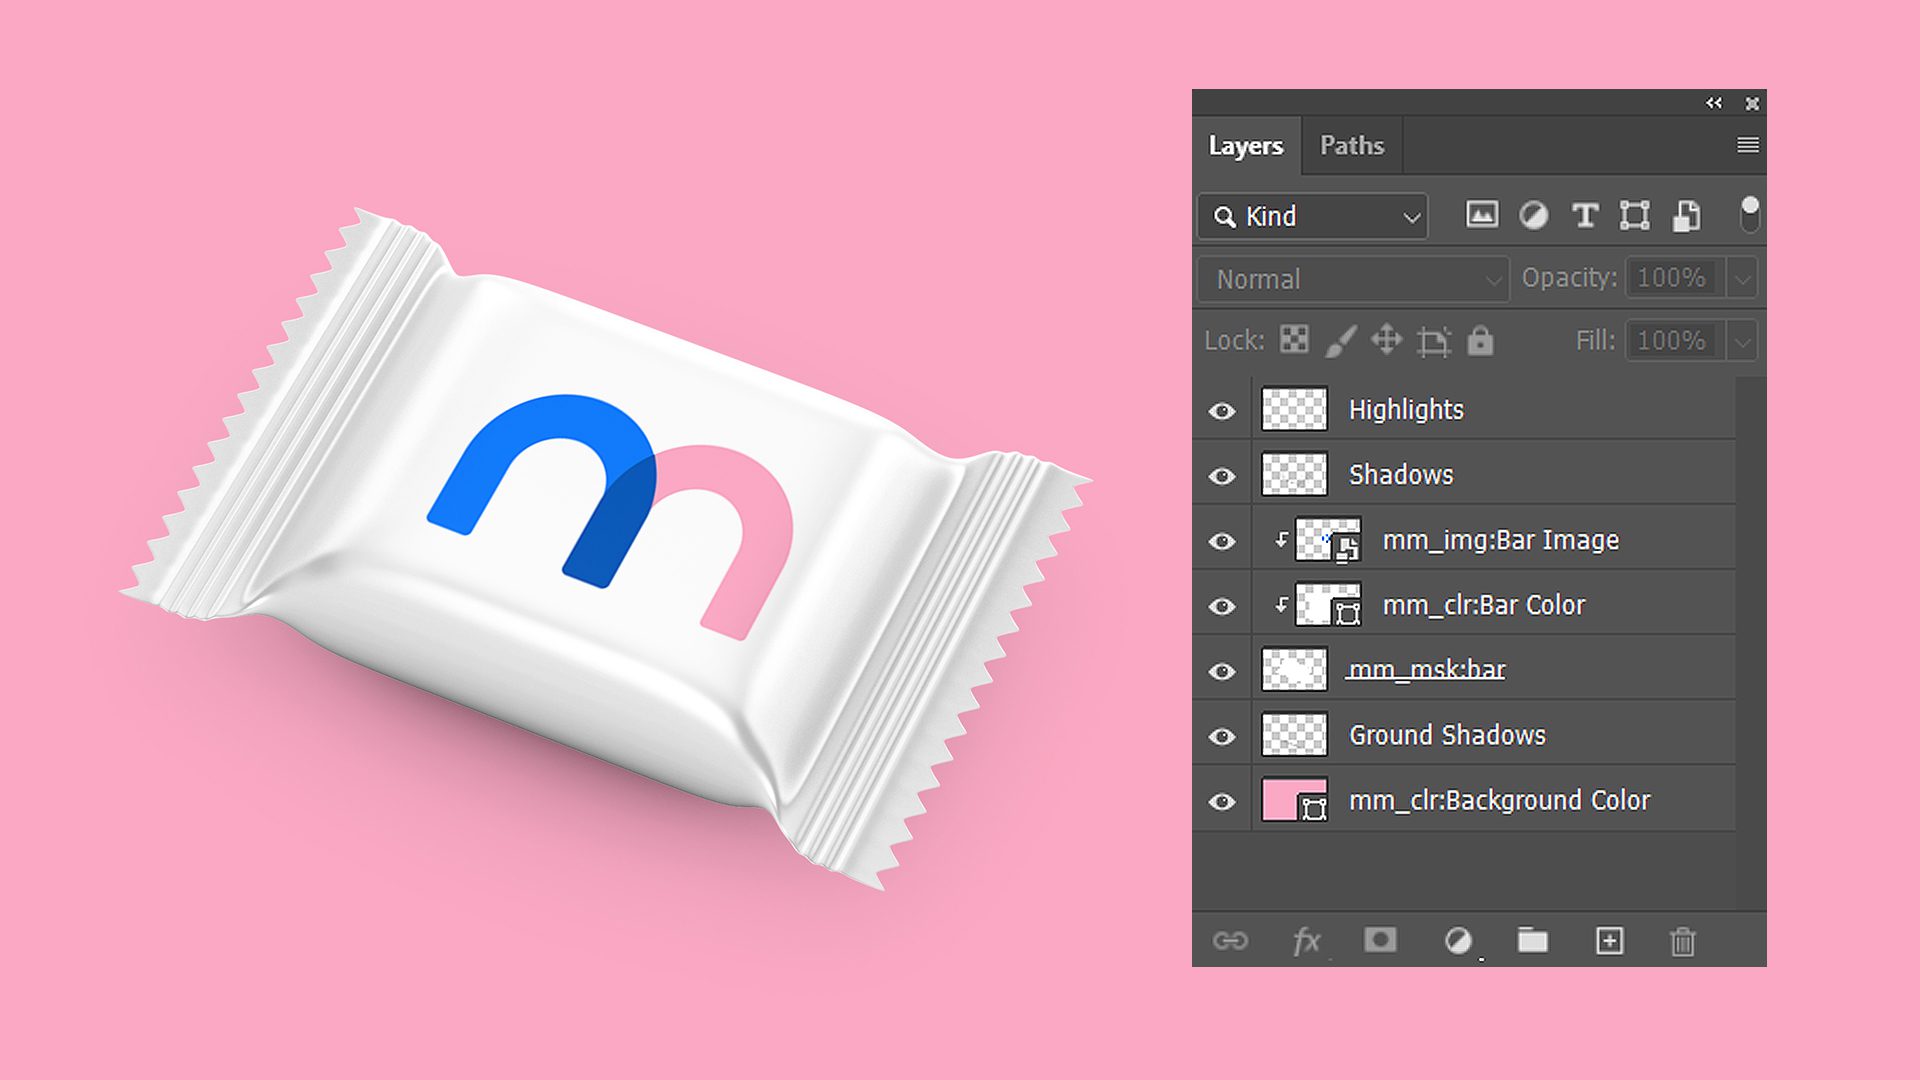
mm_img:NAME – placeholder layer name e.g. mm_img:iPhone Screen. This layer is a smart object layer.
mm_msk:NAME – mask layer for placeholder (each mask layer must have a unique name) e.g. mm_msk:screen mask or mm_msk:mask1 mm_msk:mask2 etc. Important: the placeholder layer and mask layer cannot also share the same name. For example mm_img:Book and mm_msk:Book are the same names. Consider making each unique e.g. mm_img:Book and mm_msk:Book_mask
mm_clr:NAME – name for any layer which the color can be changed e.g. mm_clr:Background Color.
mm_wrp:NAME – regular image placeholder for layers using warp effect.
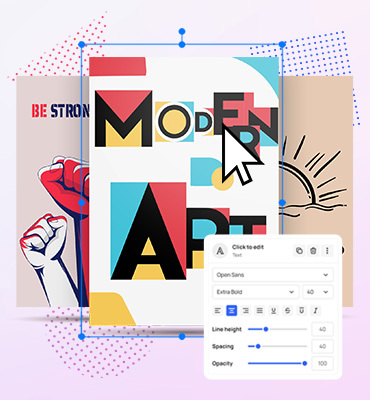
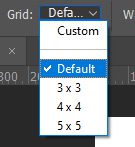
mm_text:Name – basic text is supported (not yet in mockup API) with the fonts: Roboto, Slato, Labo, Concert One, Lora, Yantramanav, Raleway, Dancing Script, Shadows Into Light. View example of a mockup with text.
All other layers which cannot be customized, can have regular and meaningful short names e.g. Flower, Wood Background, Shadow.
NB: No smart objects (other than placeholders) – Please make sure only the placeholder layers are smart objects, and all other layers are rasterized.
Inside the smart object placeholder layer, there cannot be anything else, expect the example placeholder image (no smart objects, a single rasterized layer).
There can also be (yet):
No folders.
No locked layers.
No Smart filters or layer styles (these will be ignored)… be creative and check our library of mockups for how to make templates without these features 🙂
Duplicate One Smart Object into Many Locations
When you duplicate a smart object in photoshop, and make many copies of it, they all get updated when you replace the content in one copy. However this is not the case with Mediamodifier.
In cases where you need to add one image to many placeholders, the smart object must have the exact same name.
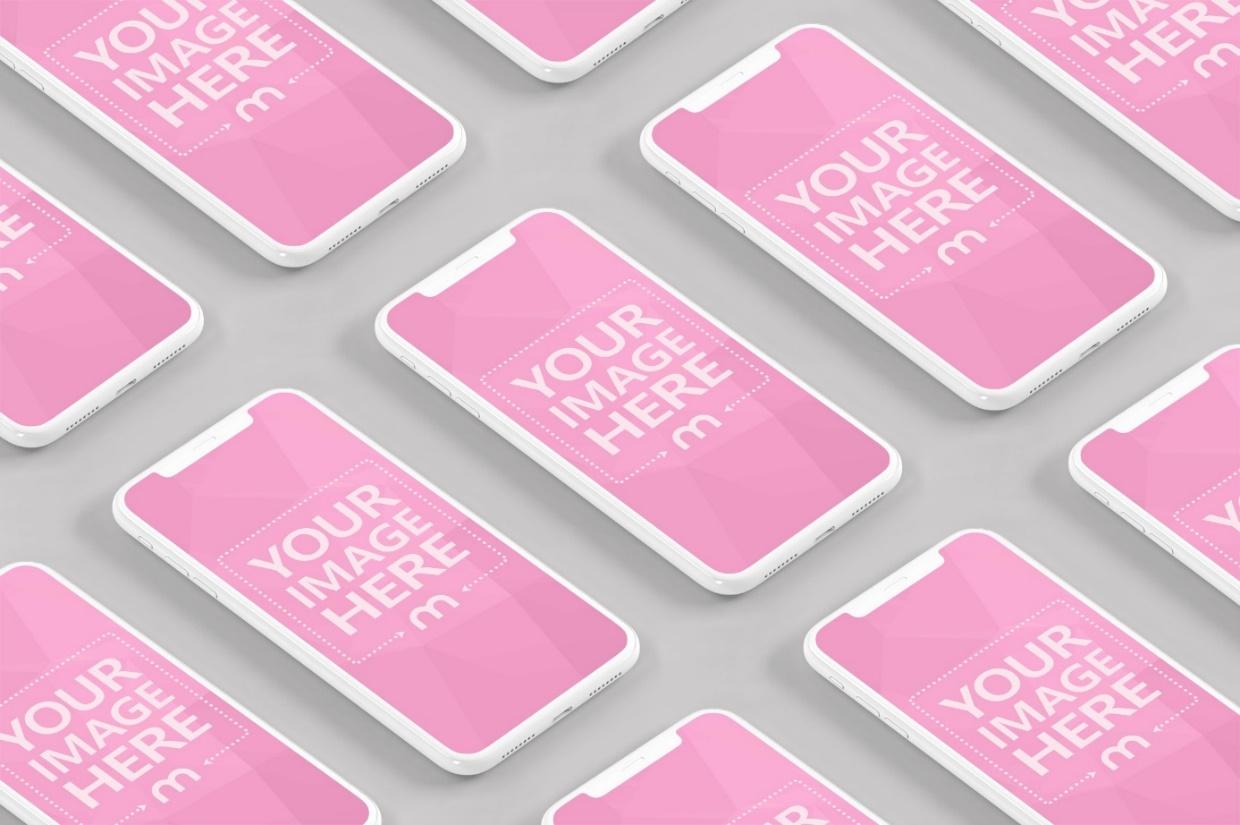
For Example if in the above mockup, you would like to upload 1 image, and have it duplicated to all iPhone screens at once, then name all the placeholder layers to mm_img:screen. (Example here)
However if you wish to upload a different image to each screen, then all placeholder layer names must be unique: mm_img:screen 1, mm_img:screen 2, mm_img:screen 3 etc (Example here)
NB: if the placeholders have the same name, but different sizes (e.g. square and rectangle) then the same image will be placed into the placeholders with the stretch to fit method.
Blend modes:
Basic Blend modes are supported (add, multiply,screen,overlay) when uploading your mockups and using them through Mediamodifier website online.
NB: Blend modes are not yet supported in the mockup API. For an in-depth tutorial about getting colors to work without using blend modes, we suggest to read the following blog article: How to Make a (Mediamodifier Compatible) Mockup in Photoshop
Using Warp & Distort:
Warp and Distort are supported, however these effects cannot be used simultaneously.
Distort – this can be used to move the 4 corners of the smart object into place. You can freely move and resize the layer too.
Warp – using warp requires the warped smart object to have the name mm_wrp:name
Warped layers can only use the Default Photoshop warp:
The layer also cannot be distorted, scaled or rotated, after or before it is warped (because reading warp info from a PSD file is pretty complicated ). This means it is necessary to move your to-be warped smart object layer into roughly the correct position it will be placed, then make sure it is scaled 100%, rasterized, then converted to smart object and then finally processed with the warp tool. (the layer can be moved after that, but not rotated)
Layer Opacity
Our PSD analyzer also reads layer opacity, so this can be set to 0-100%
Using Clipping Masks
It’s allowed to use clipping masks (use the layer below as mask) but not layer masks (used on same layer).
Tip: You can also assigns many layers to one mask.
Please note: Photoshop & Mediamodifier handle masks differently… a white layer used as clipping mask is all white and visible in Photoshop, even if the masked layer does not cover the entire mask, however Mediamodifier considers clipping masks as invisible layers.
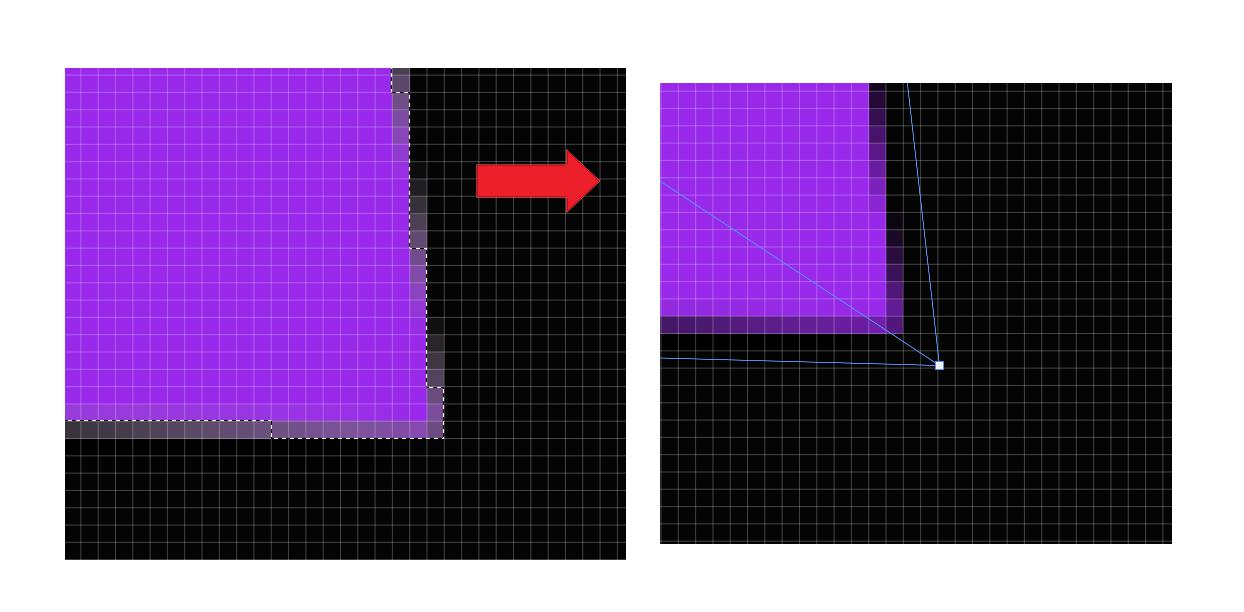
Masks: the mask should always be 1-2 pixels smaller (or the placeholder bigger) than the placeholder layer itself. This is because Photoshop and Mediamodifier web editor might still show the white mask behind the placeholder on the edges. Think about it the same way as print designs have a small safe bleed area.
Optimize File Size:
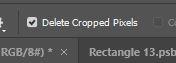
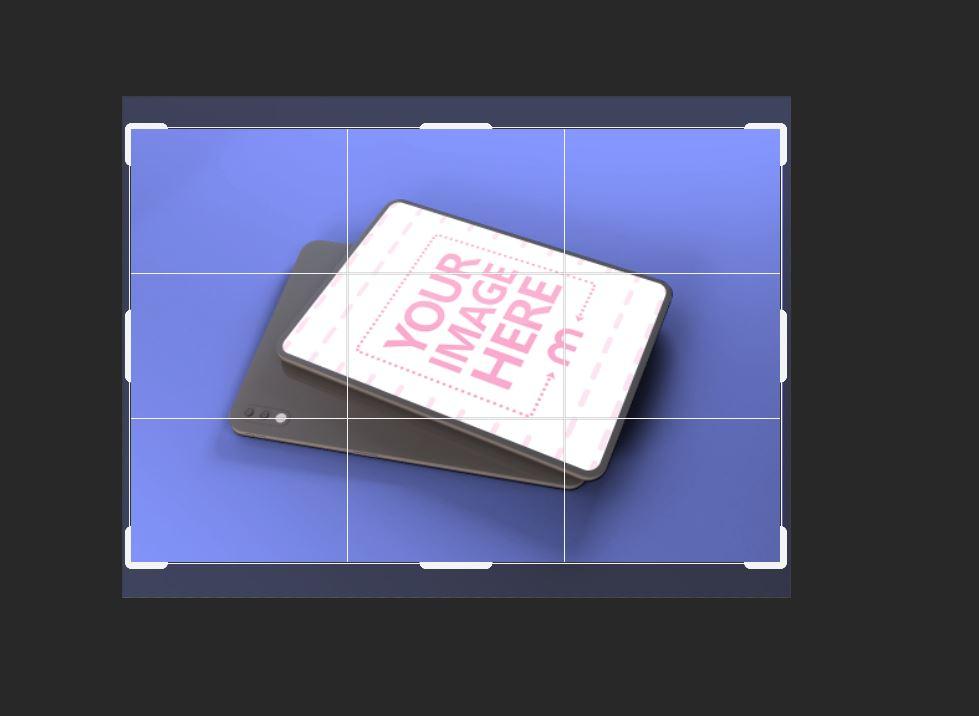
File size – pixels outside the visible canvas. Please make sure the “Delete Cropped Pixels” is ticked to crop off any content that is not visible. This way the PSD file will be smaller.
Conclusion
In general there are quite a few limitations to making your regular PSD mockups compatible with Mediamodifier, however the results are worth it! After successful upload your PSD file will be turned into an online mockup, which makes it super easy and fast to customize and download, with no access to Photoshop required.
Simply drag and drop your image to the placeholder online and save copies of your edited mockups on Mediamodifier.
Tip: You can also use the existing 4000 mockups on Mediamodifier through the API, but create custom versions of the templates.
This tutorial is constantly updated with new info (thank you for submitting any feedback, we encourage you do it!)
Related articles
Visualize your design Use a product mockup to showcase your design
Create your design Use our templates to create delightful designs for any medium