Mockup API – The Complete Guide
This guide includes all the info to get started with the Mediamodifier Mockup API.
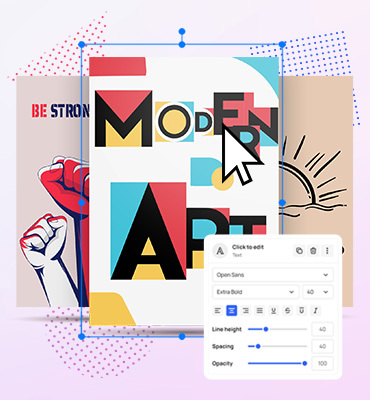
Our API allows you to turn regular Photoshop PSD mockups into online templates which you can programmatically edit via API calls.
Follow this tutorial for formatting your PSD files for API first.
After reading the article, you’ll know all the basics about our API, how it works, how to set it up on your website, and the best practices for speed and image optimization.
Introduction
The Mediamodifier Mockup API enables the creation of mockups via code.
This can be used to automate mockup creation or create mockups in bulk, on your own website or through a web application.
In simple terms, with the API, you can
1) Choose a mockup or upload your own
2) Send your image to the mockup
3) Get back a final image with the mockup and your image combined
NB: You can use our collection of 5000 ready-made mockups or upload your own custom private mockups
We also provide a quality service of converting your images into compatible mockups or creating completely new mockups, product photos, or 3D renders.
API Pricing
Let’s clear this up first:
Free version
The trial API version includes 100 test image renders with our selection of free mockups or your custom PSD file.
This is perfect for testing the API calls, renders, and testing your own Photoshop mockup file formatting and uploading.
Premium plan
The API premium plan starts at 499USD/month and includes 5000 render calls monthly (other endpoints are not charged). Additional renders above 5000 are charged 0.06USD per every additional call (no technical limits).
Also, the more renders you produce, the cheaper it gets.
Getting Started
The first step is enabling the API on your Mediamodifier account at https://mediamodifier.com/profile/mockup-api
This will create an API key that must be included in every API call.
Using templates vs. uploading your own
The API endpoints
The mockup API includes four endpoints.
In this guide, we’ll only be focusing on the two most important API calls:
- getting the details about a single mockup (Get Single Mockup Call)
- and then using this information to render a mockup (Render Mockup Call)
TIP: Please see and test example code and responses for all 4 endpoints on the API Docs page
Note: The API requests must be sent in json format, and the returned image will be sent back as a URL.
Get single mockup
View example: https://docs.mediamodifier.com/docs/mockup-api/b3A6NzQ2NjE3Mg-get-single-mockup
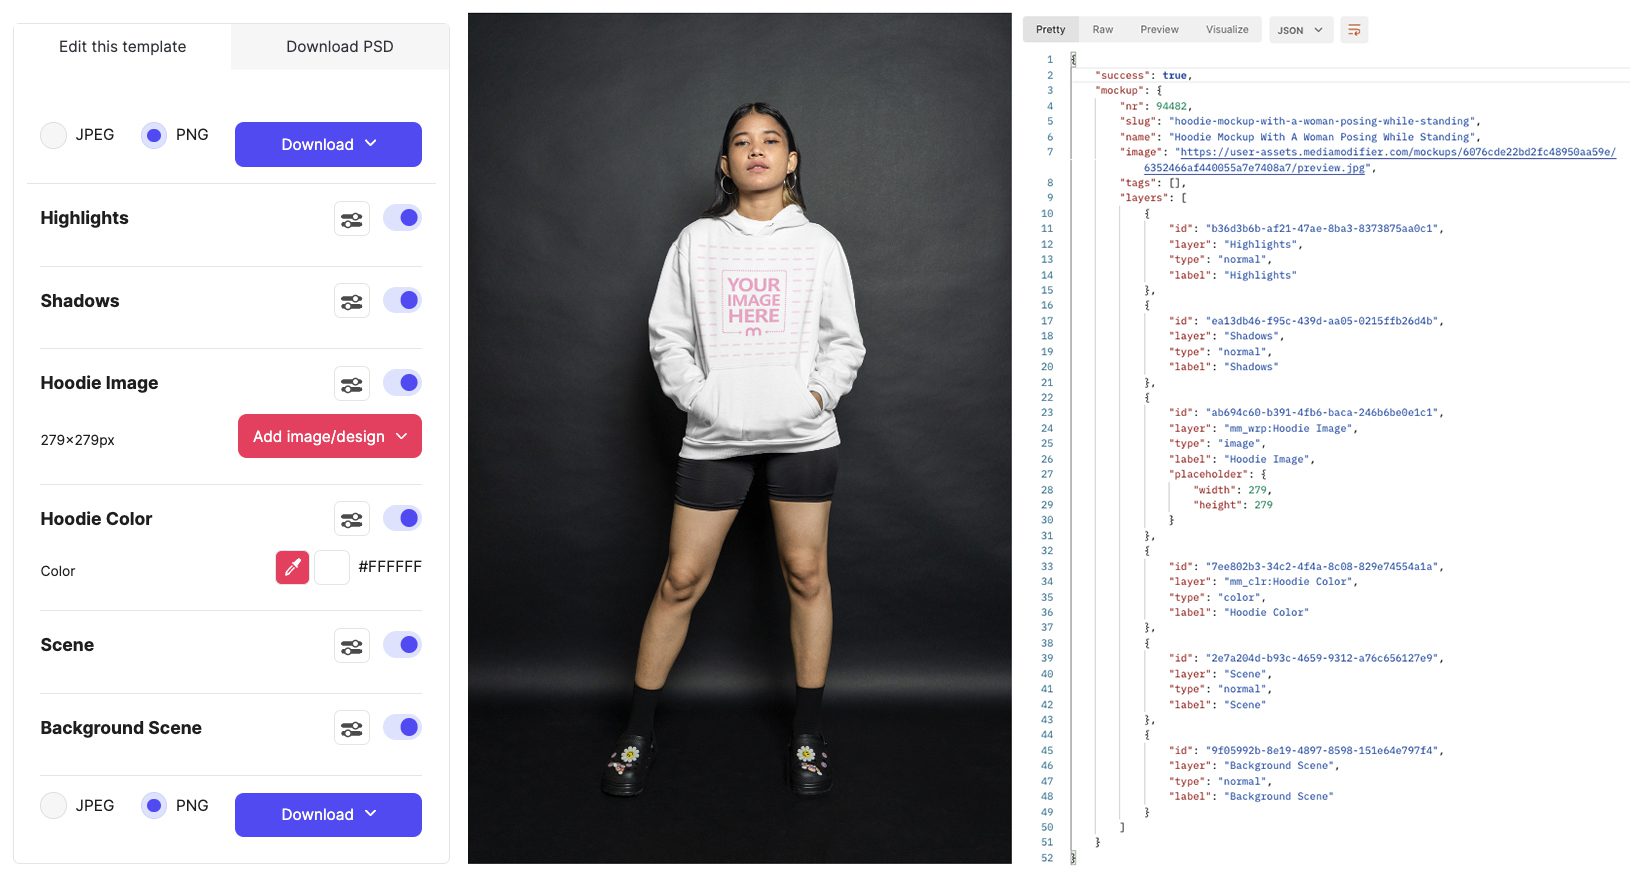
This endpoint is meant to get all the details from a single mockup.
It means that each layer inside a mockup has its unique layer ID.
This allows customizing each layer separately.
Let’s Try it: Use the unique mockup nr to make this request.
How to find the mockup NR?
For public Mediamodifier mockups it is the code found at the end of an URL:

For your own custom Uploaded mockups this number will be shown on your API dashboard:

TIP: with the premium API plan, you also have access to the entire Mediamodifier Mockup library, meaning you can download public mockups, make changes to them and upload them back as your own private mockup.
Make an API call with this NR, and it will return all the layer info and reveal the layer ID for each layer in that mockup.
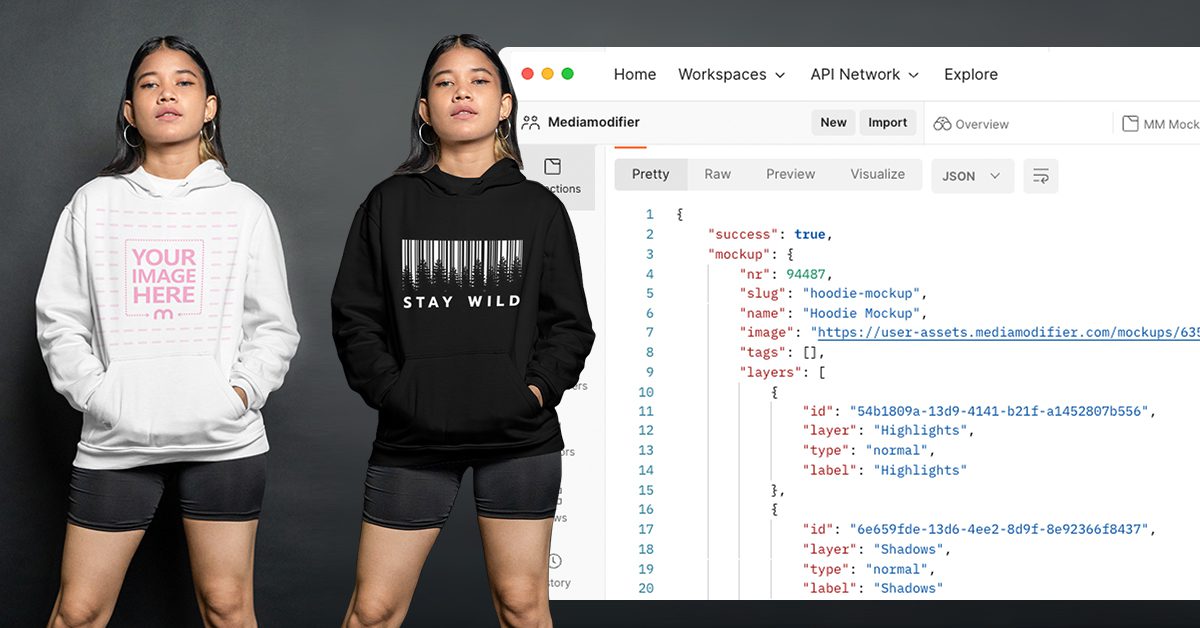
So let’s go all Neo and see the source code of a mockup.
Making a Get Single Mockup request shows all the contents of a mockup like this:
Rendering a mockup
For rendering the final image, we now need to know the following:
- the Mockup NR
- the layer IDs for each layer we want to change
- the photos we want to insert into the placeholders
Example Video
In the video below, you’ll see the most critical API elements:
- Uploading a custom PSD mockup;
- Using the Get Single Mockup to extract layer info (using Postman);
- How to insert these details into a Render Call – with your image;
- Turning off the background scene layer;
- Changing the color of a layer (color of the hoodie).
You can submit your input image as direct URL, and the API returns a direct link to the final image
Scalability & Speed
The Mockup API is built on Amazon AWS. It uses a load balancer with 12 instances, so that it can handle 12 simultaneous calls. Our biggest partners render over 100 000 images a month, so the system is built for automatic scaling and speed.
For optimizing your API calls for maximum speed, please read our blog article about how to send API requests.
Troubleshooting & Support
The API is configured to send automatic emails (to the registered email) if an unknown error occurs during an API render call.
Even AWS can’t guarantee 100% uptime, so we also depend on their systems.
For all API clients we have Priority support.
Important links:
- Enable API: API Dashboard
- Test API calls and see code examples: API Docs
- Free mockups for testing
- PSD formatting guide (for custom uploads)
- Book a Demo call
The Important Questions
Does the API Crop or Stretch My Input Image?
By default, your input image is always stretched into the mockup placeholder.
For example, if you submit a square image, but the placeholder in the mockup is a wide rectangle, then it will be stretched to fit the entire area.
To avoid this, you would need to:
submit an image in roughly the same ratio (2000px square will perfectly be downsized into a 1000px square placeholder)
or
crop your image before sending it to render or via the API (below)
How to Crop My Input Image Using API
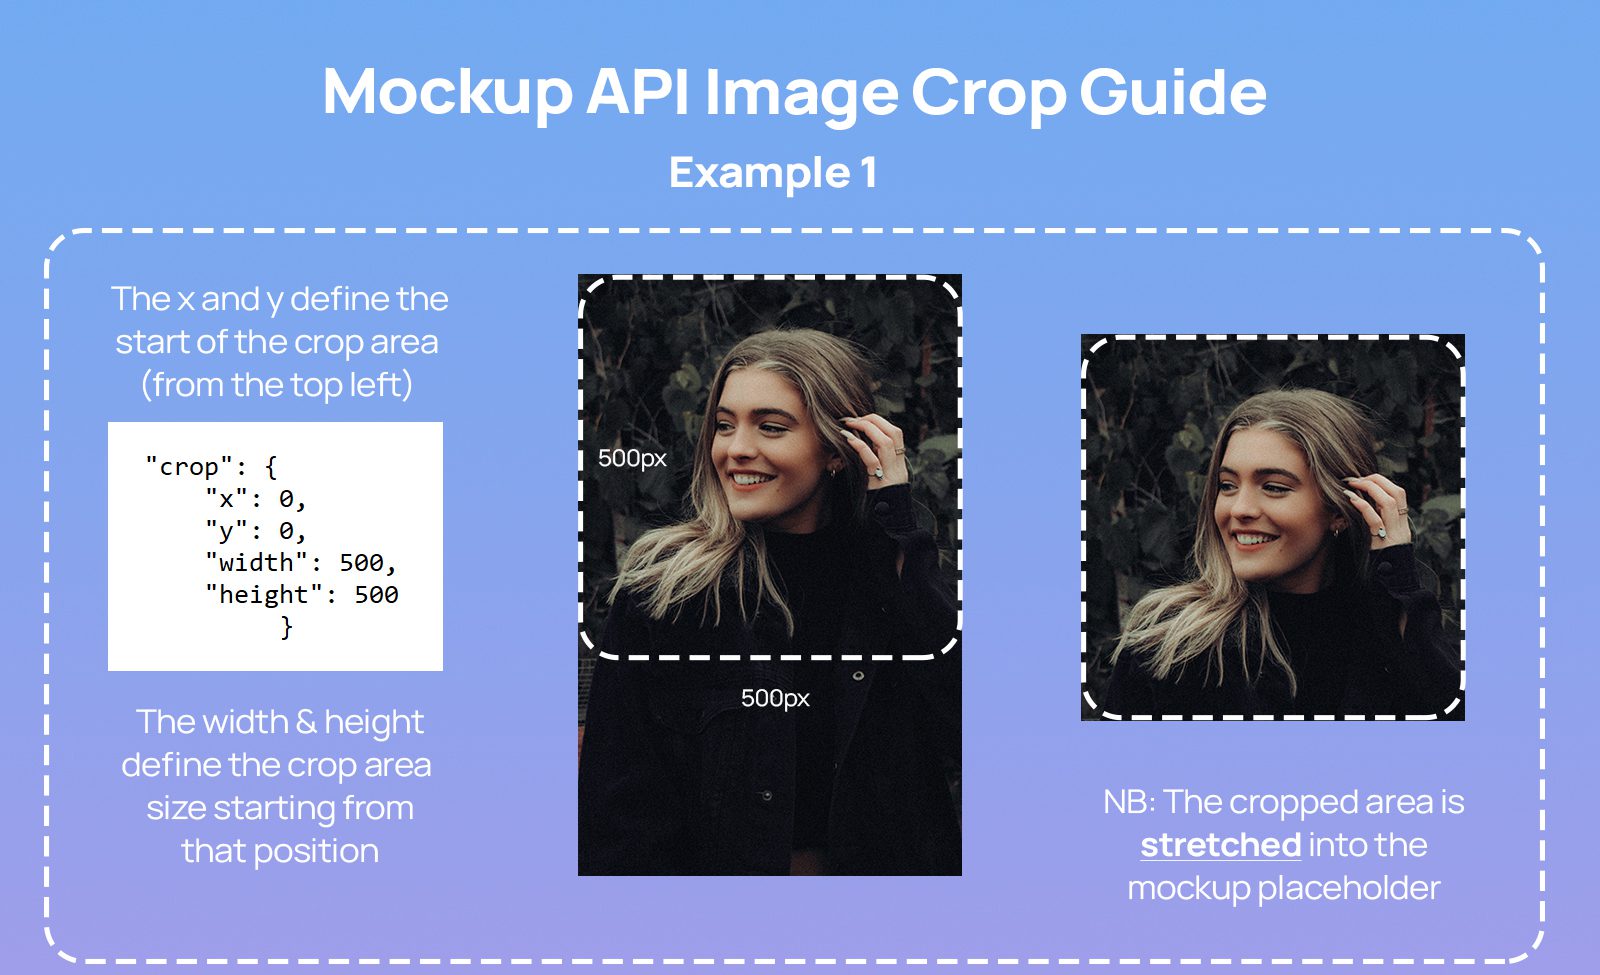
This is done by using the crop parameters during the Render call
1) The X and Y are the pixel coordinates where the crop area will begin (starting from the top left)
2) The WIDTH and HEIGHT define the large crop area, starting from that x and y point.
3) The cropped area is then stretched to fit the exact placeholder size which depends on the mockup used
So if x and y are both 0, and the width and height are always the same as the inserted image size,
then the uploaded image will always be stretched to fit the placeholder, no matter the size.
Make API renders faster
Most significant gains in speed come from optimizing content:
- smaller PSD files
- smaller input images
The optimal PSD and image size is around 1000px; however, it is possible to use any other size you need for your application.
Please follow the detailed blog article below for the best speed and performance tips.
Are the Search and Get Single endpoint charged?
No. Only the Render Call
How to secure the endpoint?
For securing the endpoint, it would be necessary to always make your API calls from the backend by using it as a proxy service to make the calls. Using it on the front-end will expose your key, and someone could potentially make API calls with your private key.
We hope this mockup API guide has been helpful!
Related articles
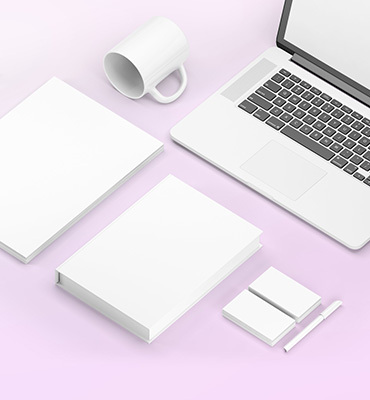
Visualize your design Use a product mockup to showcase your design
Create your design Use our templates to create delightful designs for any medium