3 Tips to Improve the Quality of a Mockup
Is it time to improve the quality of your mockup?
A blurry or low-resolution image doesn’t look professional!
That’s why it’s always important to have your eCommerce or marketing images look clean and sharp.
Low image quality, ugly white borders, or jagged lines are caused mainly by three things you need to understand.
Fortunately, there’s an easy to fix for all these problems with Mediamodifier Mockups.
#1 The image inserted into a mockup is too large
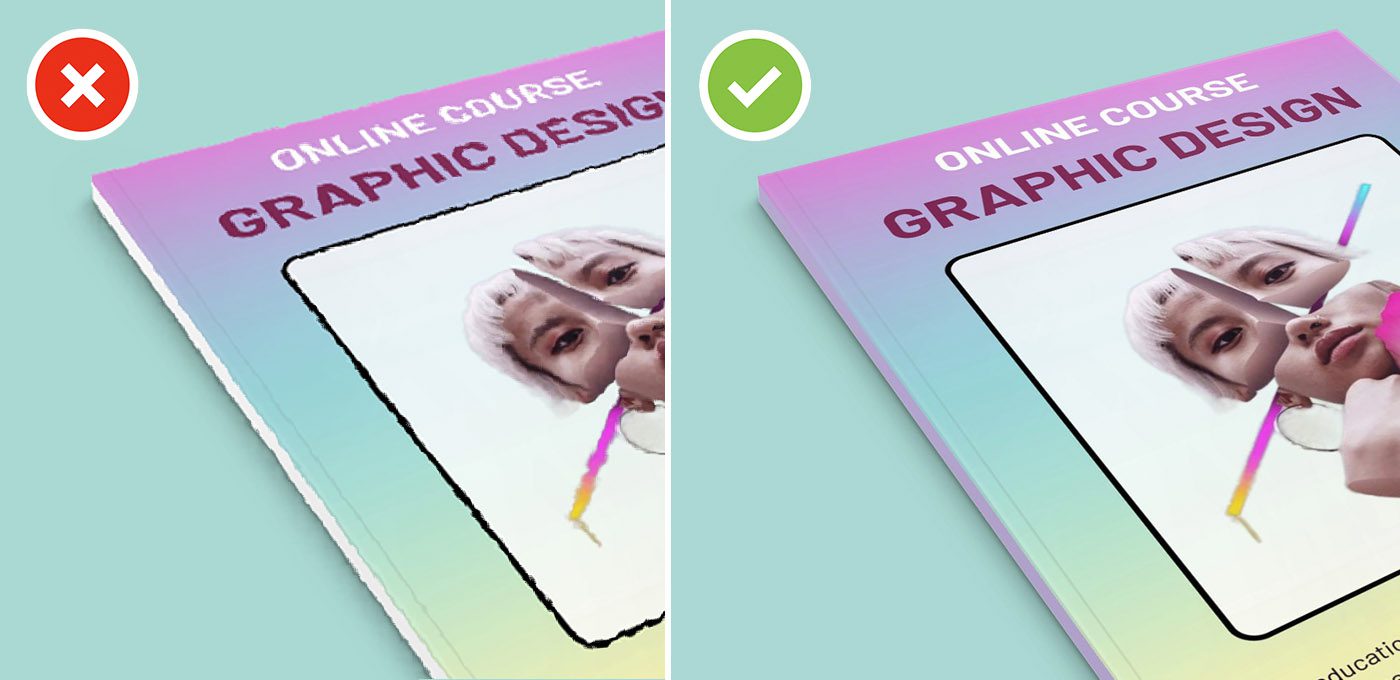
Many of our clients work in the print sector, and often, they use real print-size images, say around 10000px, to place inside a small 1000px mockup.
This dramatic downsizing can and will cause significant visual problems.
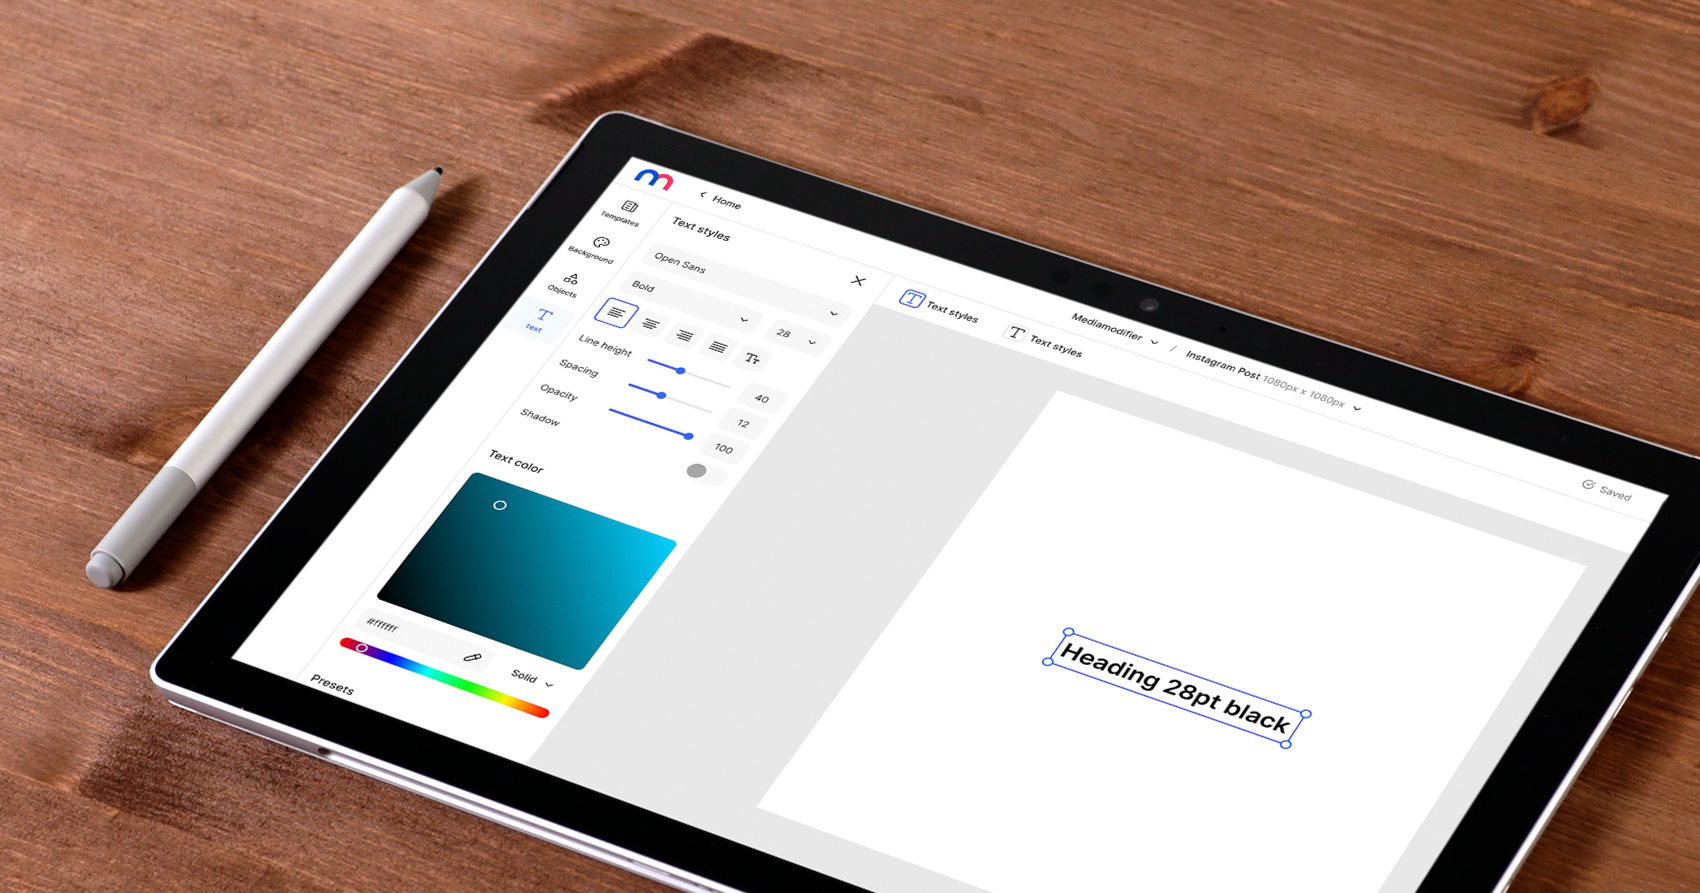
Each mockup in Mediamodifier has specific information about the placeholder size.

While uploading images in this direct size or ratio is unnecessary, it would be wise to see that you’re not inserting a large image into a placeholder ten times smaller.
For best results when dealing with huge images, it’s better to make the image smaller and then place it into a mockup.
2# Download a Full Version of the Mockup for Preview
Often the live mockup preview looks very messy and with extra poor quality.
The downsizing of big images also causes this problem.
What it means is that our mockup templates are primarily made in the 2000px size; however, they are often crammed into a small space on the website preview because this depends on the user’s screen resolution.
This also causes blurriness and jagged lines, especially when there is text on the image.
The fix is quite simple.
On any mockup template, right-click on the mockup area itself, and Choose “Save image as”
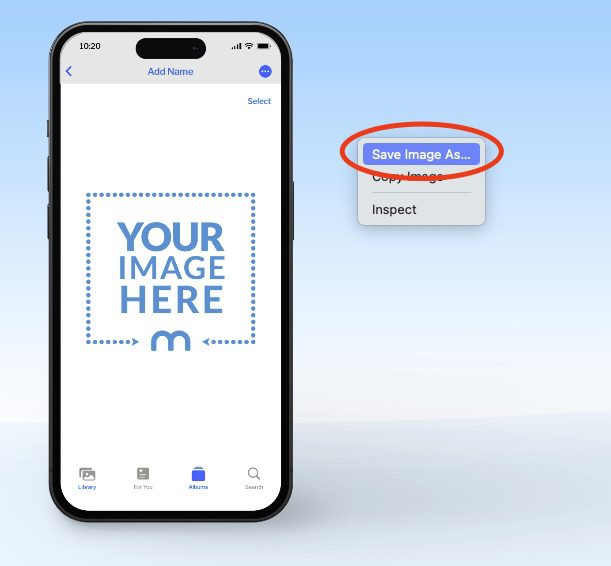
This will download a full 100% (watermarked) preview of the mockup, giving you a clear vision of how the full download will look like.
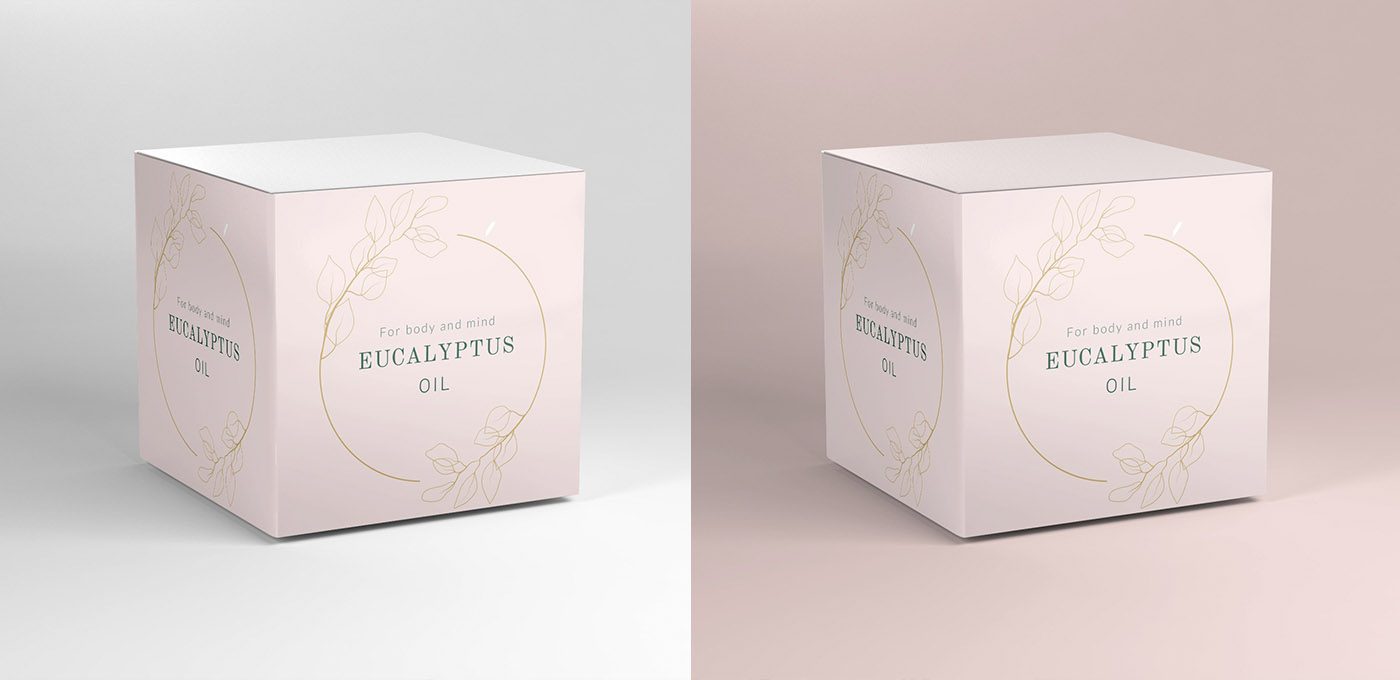
#3 Mockup Colors are Left Undefined (Resulting in White Edges)
This is quite a common issue when using product mockups.
Many people don’t realize that when you’re making a mockup and uploading a full-size image, it covers the entire mockup area, but the layer below is still white.
Using an image enhancer tool can help adjust contrast, brightness, and other attributes for better visibility against white backgrounds. Image enhancer software improves the clarity of photos placed in mockups, presentations or any document by custom tweaking sharpness, saturation, exposure and more. When working with mockups, an image enhancer ensures layered visuals maintain resolution and aesthetics.
So what happens when you upload a black design onto a white box?
The box below is still white, resulting in small thin white edges around the placeholder.
That means it is also always necessary to define the object’s color, whether it’s a shirt, box, mug, paper, or any other object.
NB: If the layer has a color option, be sure to edit it similarly to the colors of your design.
That was it
If none of the above methods helped you improve the quality of your mockup, please get in touch with our friendly customer support, and we can look at what might be causing the image quality problem in your specific case.
Related articles
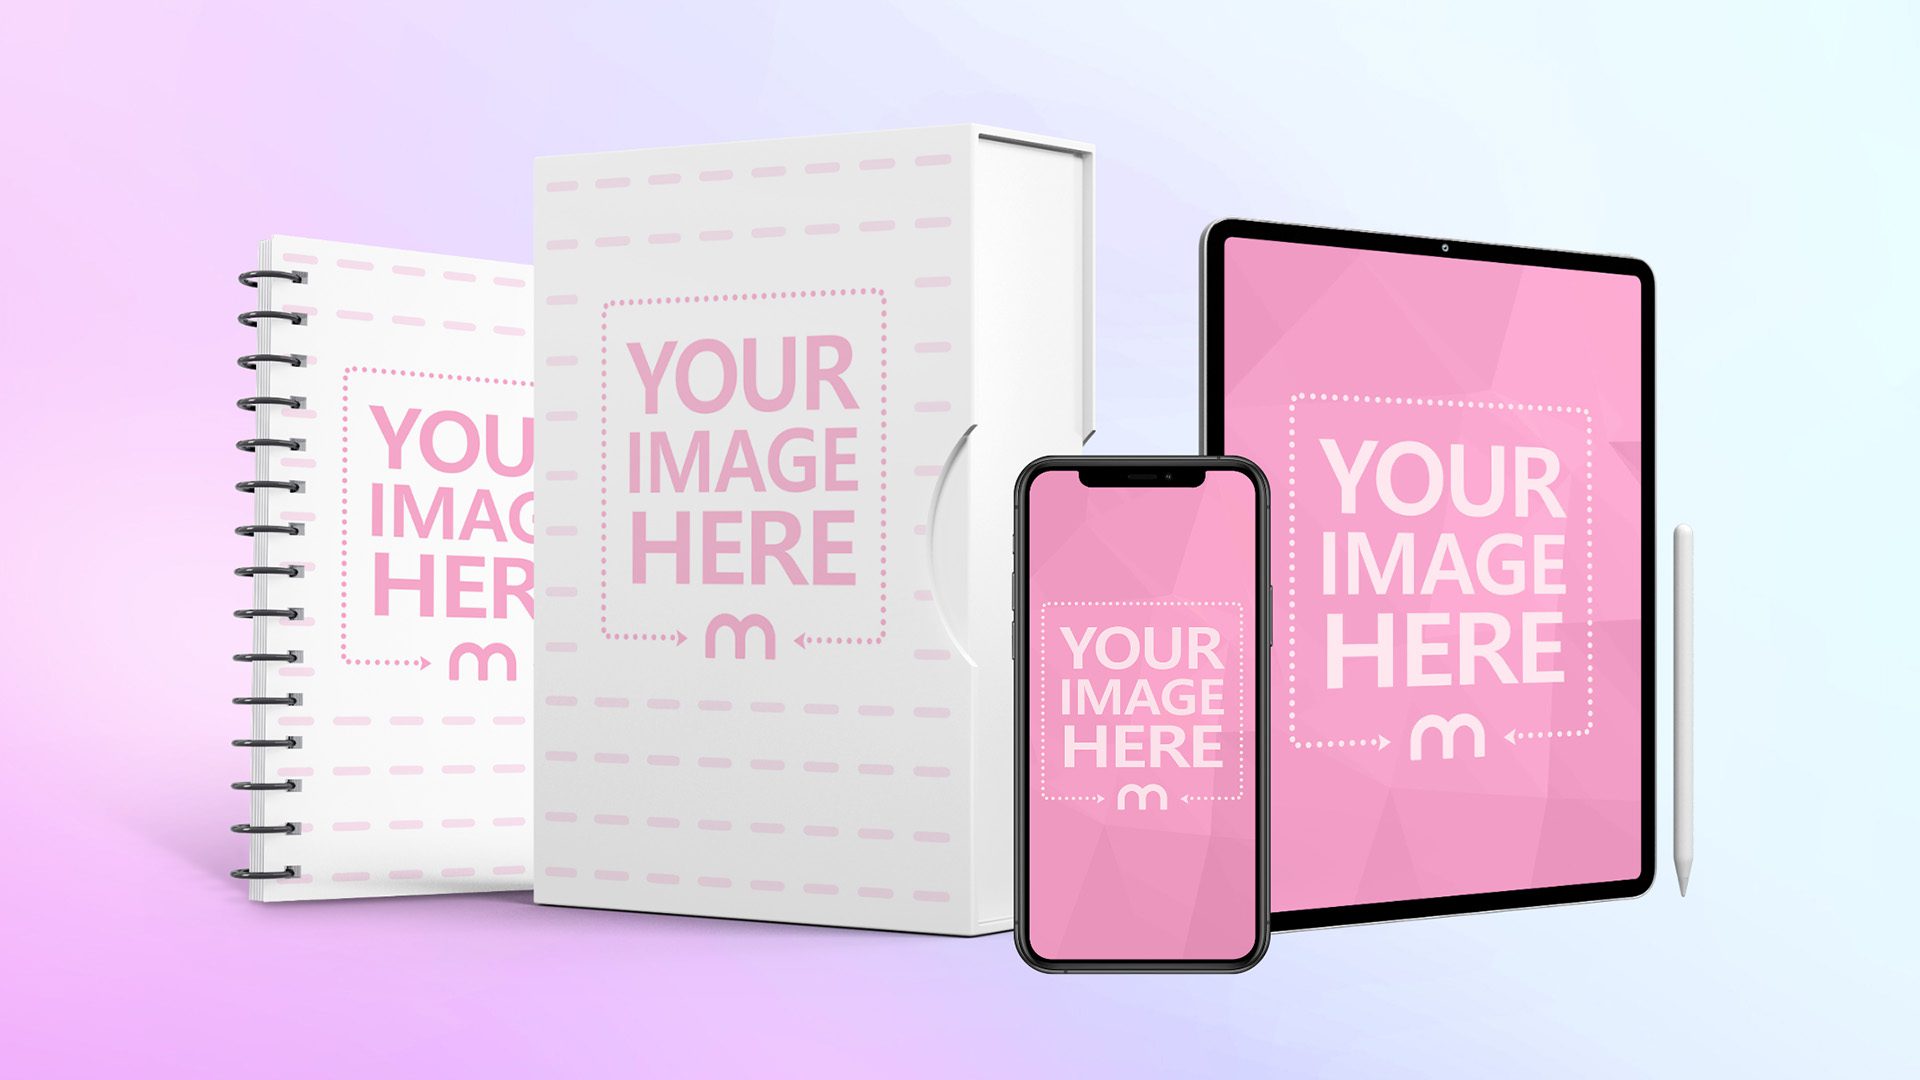

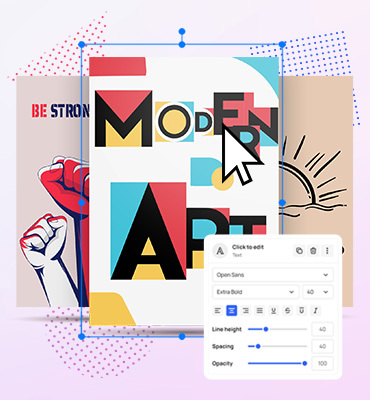
Visualize your design Use a product mockup to showcase your design
Create your design Use our templates to create delightful designs for any medium